DIY Valentine's Card
In this DIY tutorial, I’ll walk you through how to create DIY Valentine’s Cards! This time of year I love to come up with Valentine craft ideas that you can give as homemade Valentine’s gifts! In this blog post, you’ll learn how to make your own homemade Valentine’s card that will wow your loved ones.
Plus, these are so fun and easy to make! Whether you do this Valentine’s craft with your kiddos or set aside time for a solo craft night (glass of Rosé optional 🍷💕 ), the act of making something by hand with a whole lot of love can truly brighten your day and ignite your creative spirit.
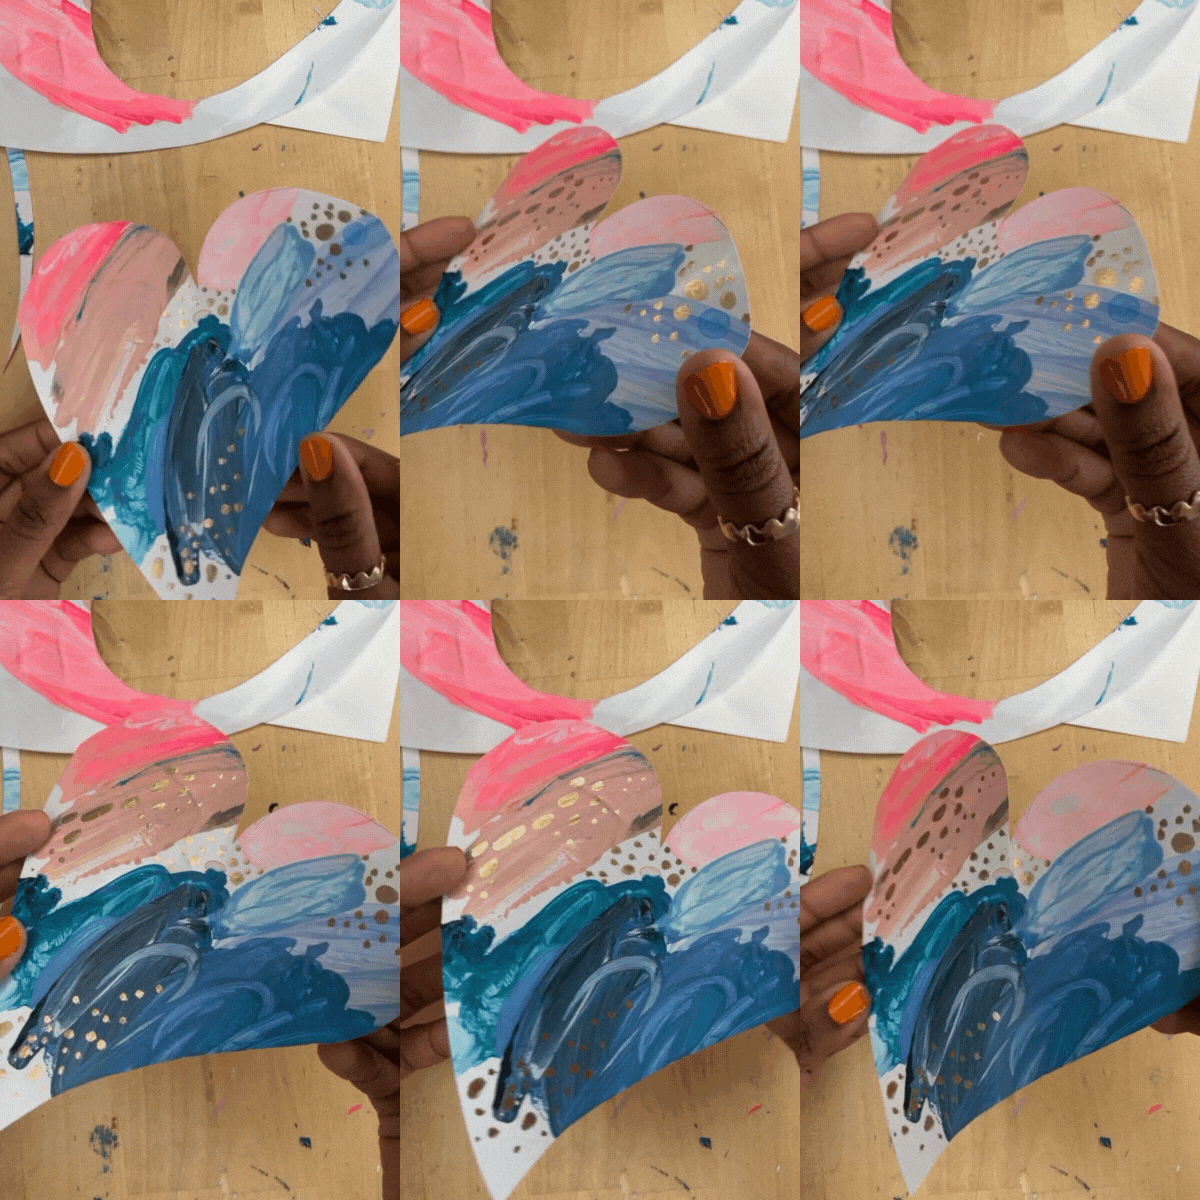
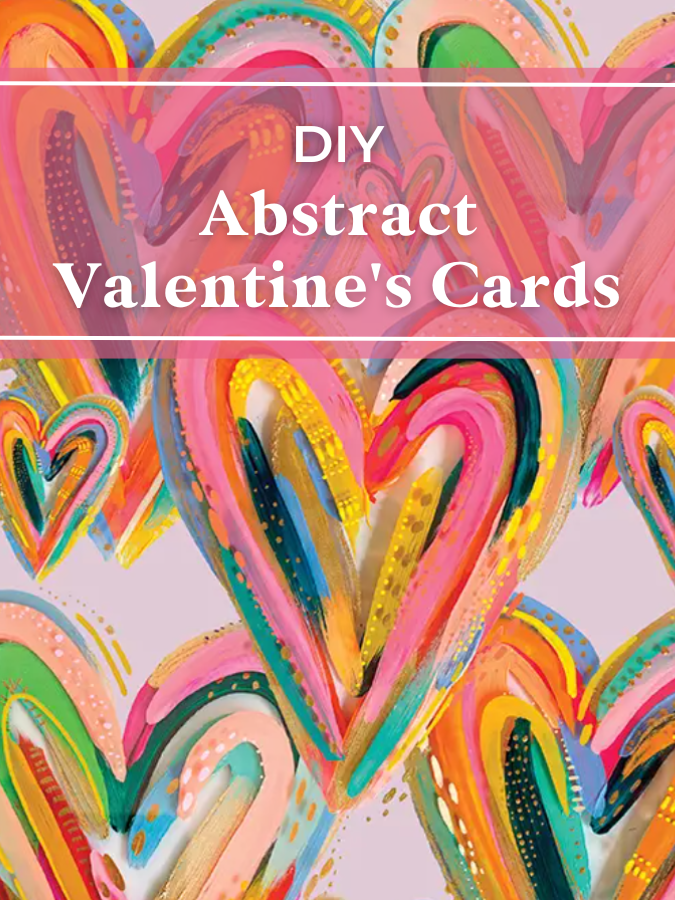
By the end, you’ll have some lovely abstract Valentine’s cards that look like this!
Step 1: Collect Your Materials
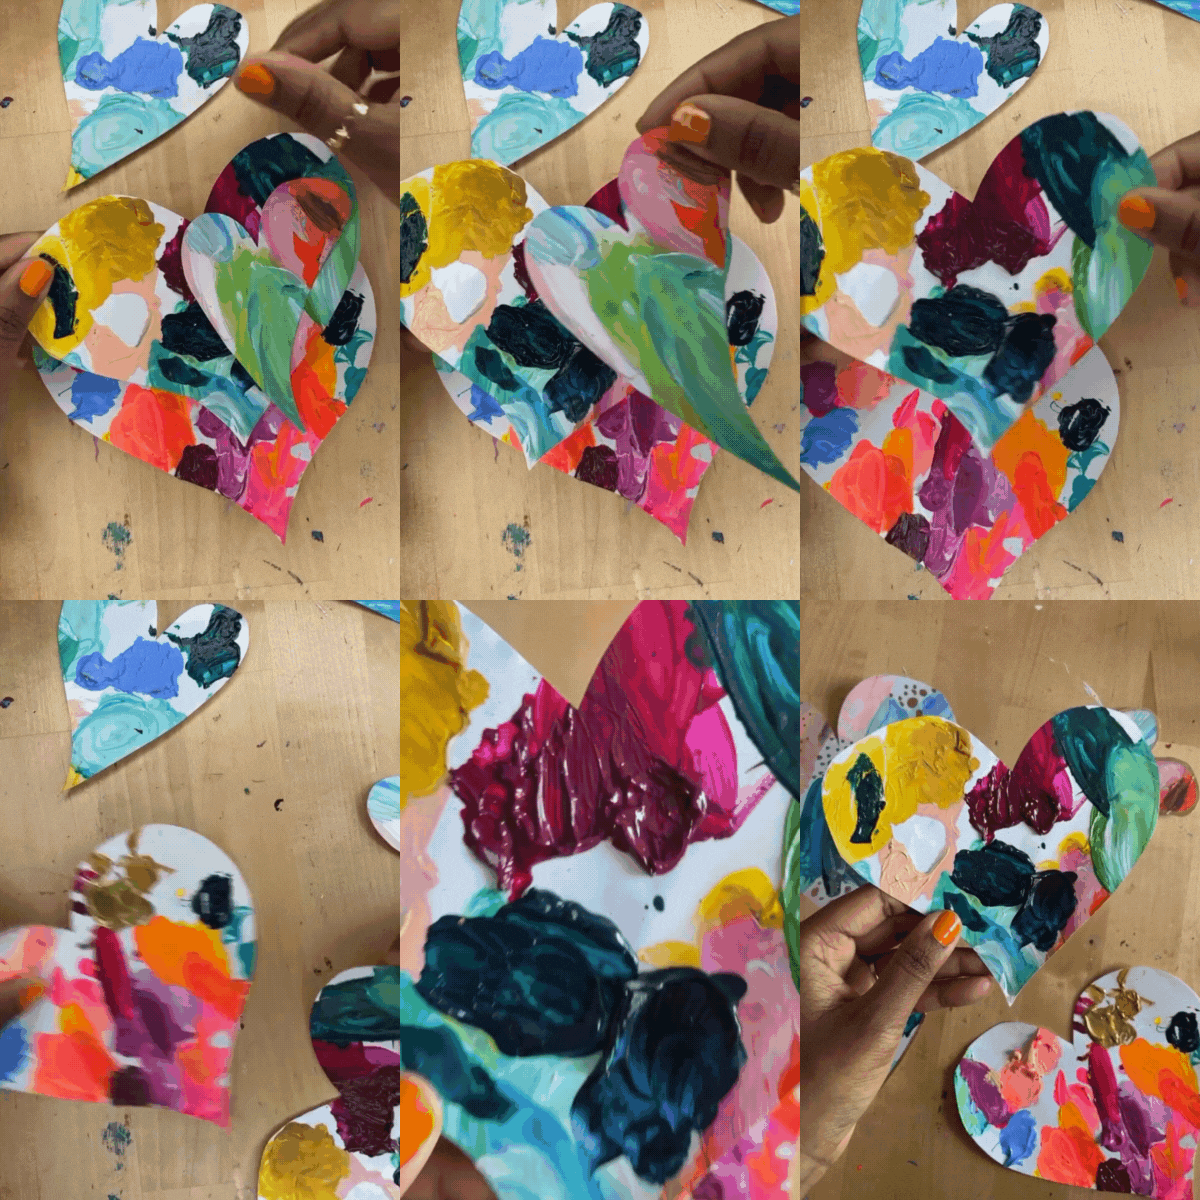
The first step is to collect your materials! We’re going to be repurposing an existing colorful piece, cutting it out in a heart, and embellishing it to make a unique abstract Valentine.
I’m going to use dried paint palette paper for my Valentines. As an acrylic artist, I use these disposable wax palette paper sheets because they make clean-up so easy! Plus, when I’m done with them and let them dry, they can look like works of art themselves! If you’re a painter, I highly recommend repurposing your old paper palettes for this!
If you don’t have paint palettes like this, you can use scrap paper. Get creative with it. Look through old magazines and see if you can find a cool pattern or photo you like! Even envelopes or junk mail can be a fun place to try and find colorful designs. Be open to playing with it and you never know what you might discover!
If none of these repurposed materials are calling your name, you can paint your own abstract design on your Valentines. Learn how to create a simple DIY abstract painting in this blog post..
Or if you want to follow along with my abstract painting process step-by-step, join me in my class, Joyful Abstracts! New Skillshare members can access the class for free with a one-month trial!
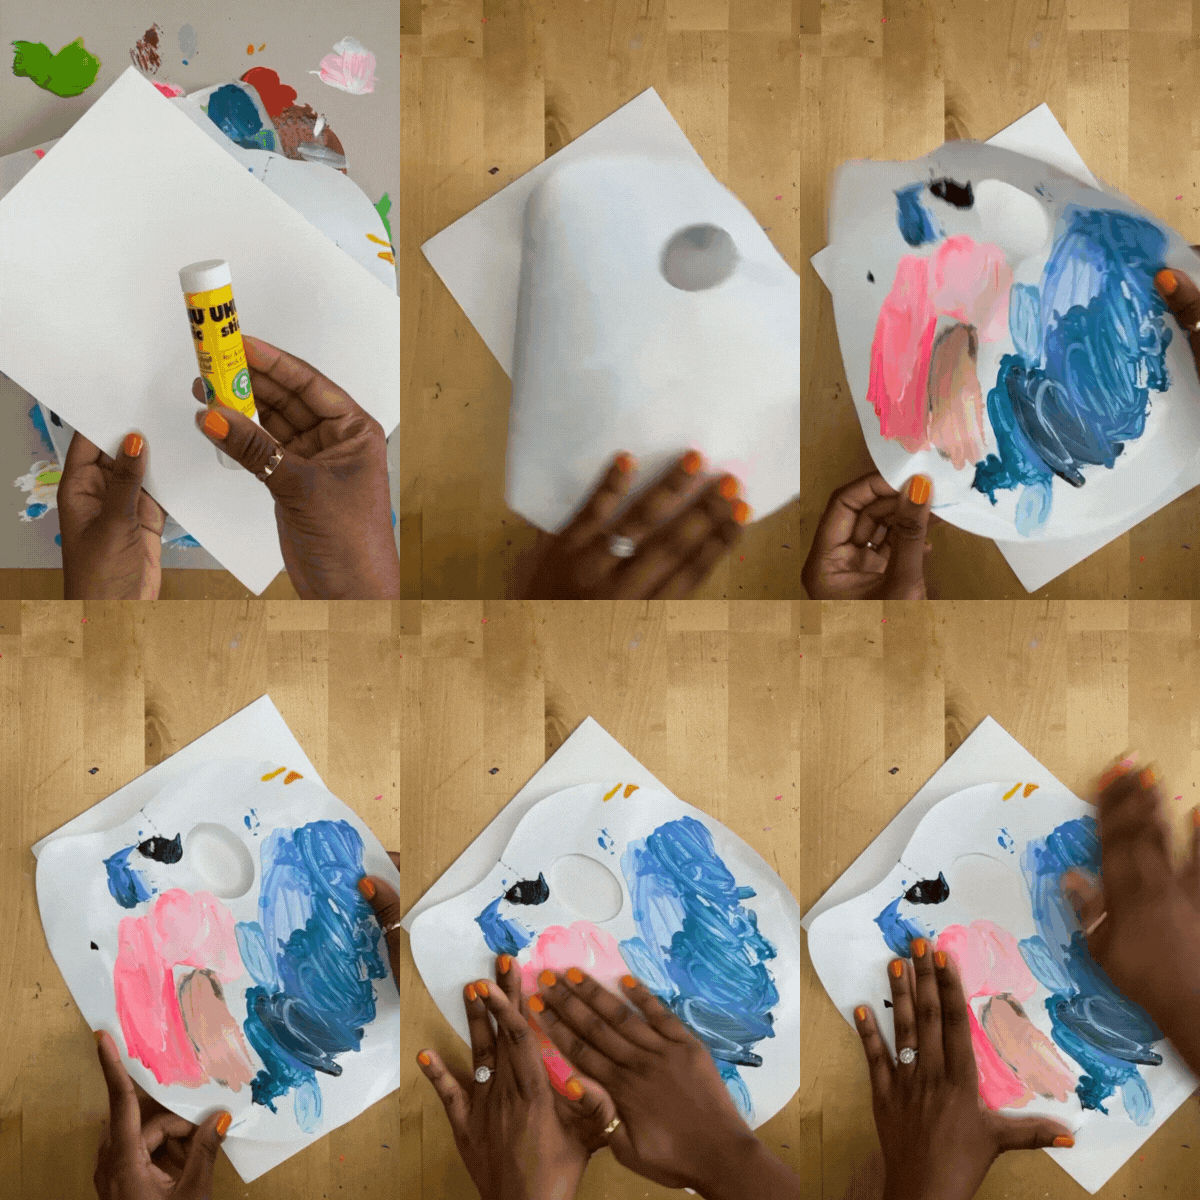
Step 2: Glue to Cardstock
If your repurposed materials are on a flimsy piece of paper or if the back isn’t blank, you’ll want to glue it to a piece of cardstock. This gives your Valentine some substance and gives you a blank page to write your message on the back! I just used a simple craft glue stick and cardstock I had lying around the house.
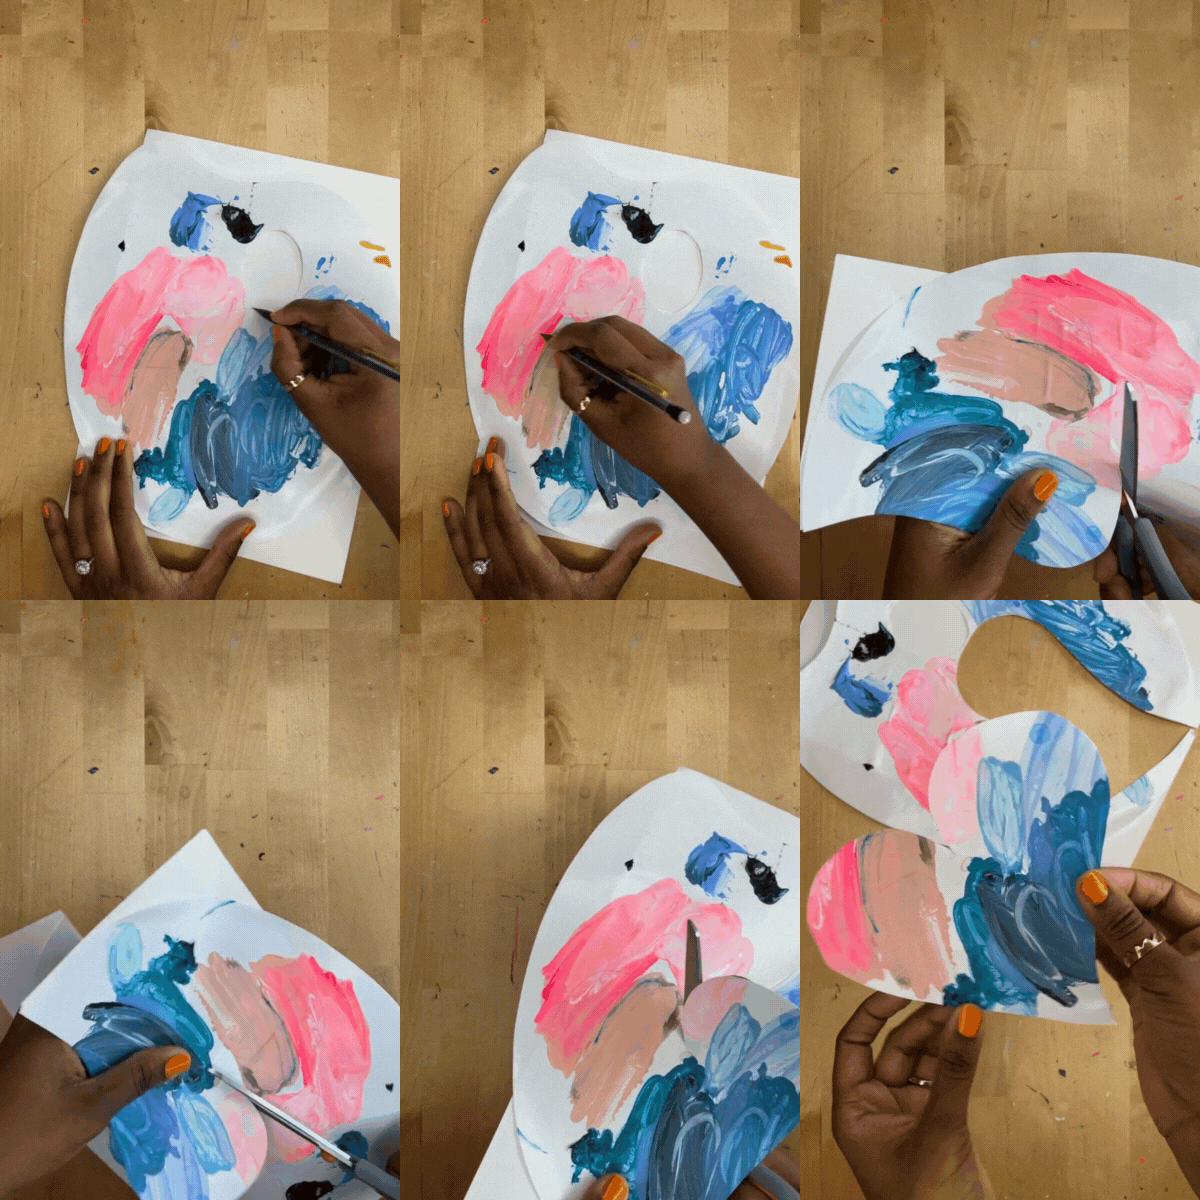
Step 3: Trace and Cut Out Your Shape
Now that you have your repurposed materials or your abstract painting on paper, it’s time to cut it into the shape of a heart! I love the whimsical look of a heart-shaped Valentine. It makes it feel so much more playful and fun than a traditional card shape!
Trace your heart shape onto your paper and cut it out like this:
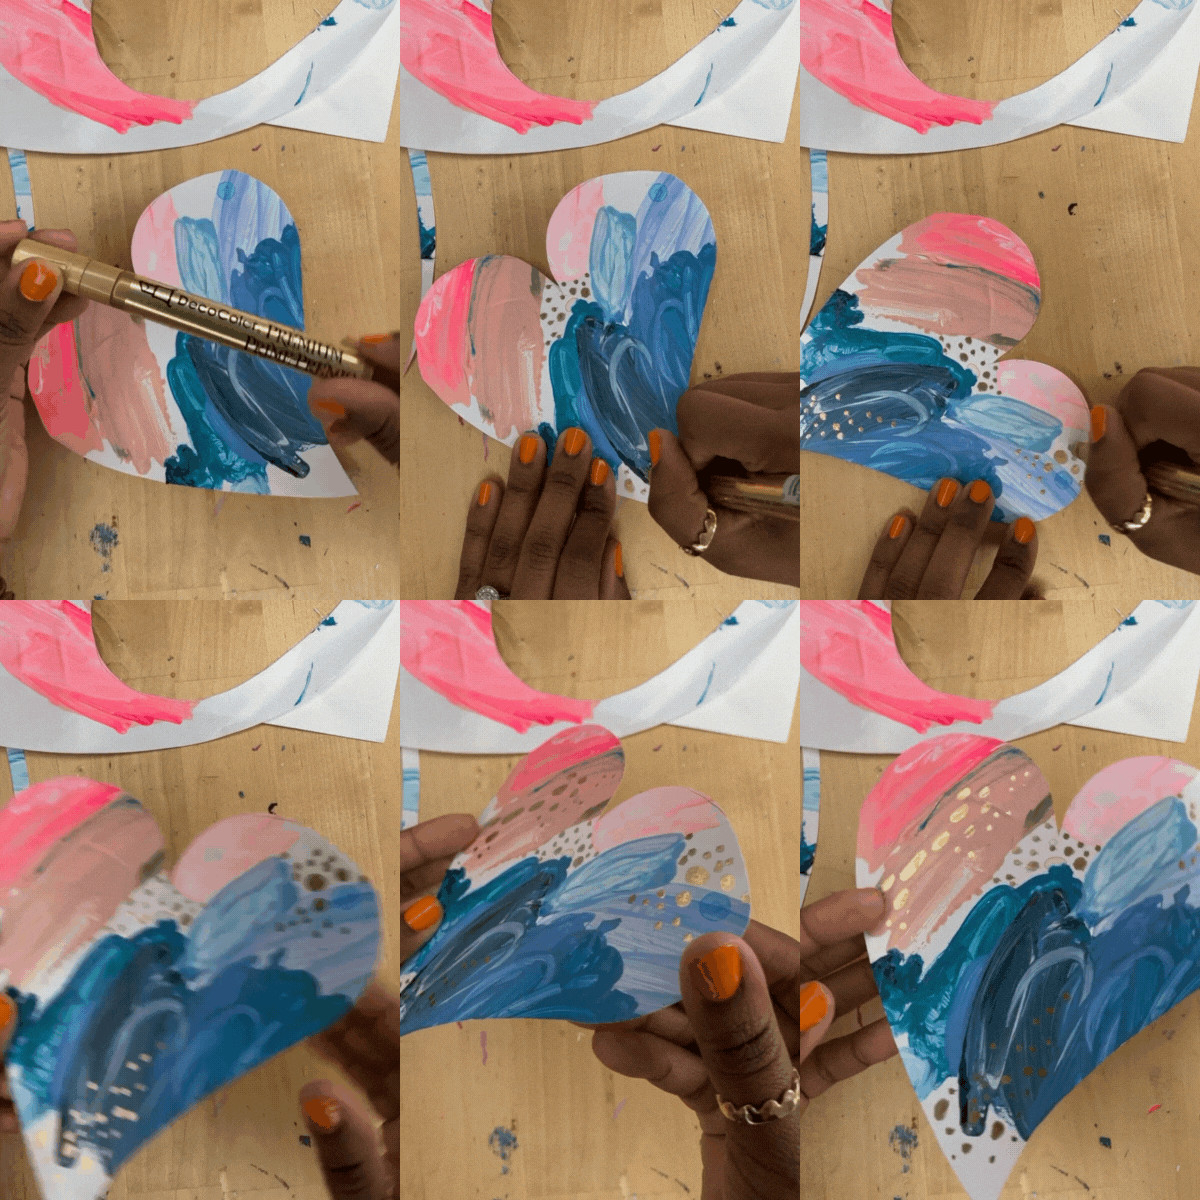
Step 4: Embellish!
Now for my favorite part! Adding embellishments! While my repurposed paint palette has a fun abstract vibe on its own, I want to elevate the design a bit to give it a more polished look.
My favorite way to tie together an abstract piece is with gold embellishments. I’m using my favorite gold paint pen to add a few flourishes here and there to this piece. It makes a TON of difference in the final look of the Valentine! Here it is before and after the embellishing process.
Step 5: Write Your Message
You’re almost finished! After embellishing, the last step is to write your message on the back!
Here are how the rest of my Valentines turned out! I loooooove that you can see the goopy texture of the dried acrylic paint. It adds an element of playfulness and fun to these cards.
I hope these DIY Valentine’s cards bring a smile to your loved ones’ faces! And most importantly, I hope you have fun making them!
xo, Jessi
Pin this post for later! 📌
Hover or tap on this image and click the “Save” button on the top left!

