How to Paint an Acrylic Poinsettia
In this tutorial, I will walk through the steps to painting a poinsettia flower with acrylic paint. This acrylic poinsettia would make a wonderful addition to your holiday decor, or you could gift it to a loved one this holiday season!
I’ll be sharing how to paint this on a canvas, but there are lots of ways you can create your poinsettia! You could follow along with this tutorial to make hand-painted holiday cards or even an ornament! There are so many festive options!
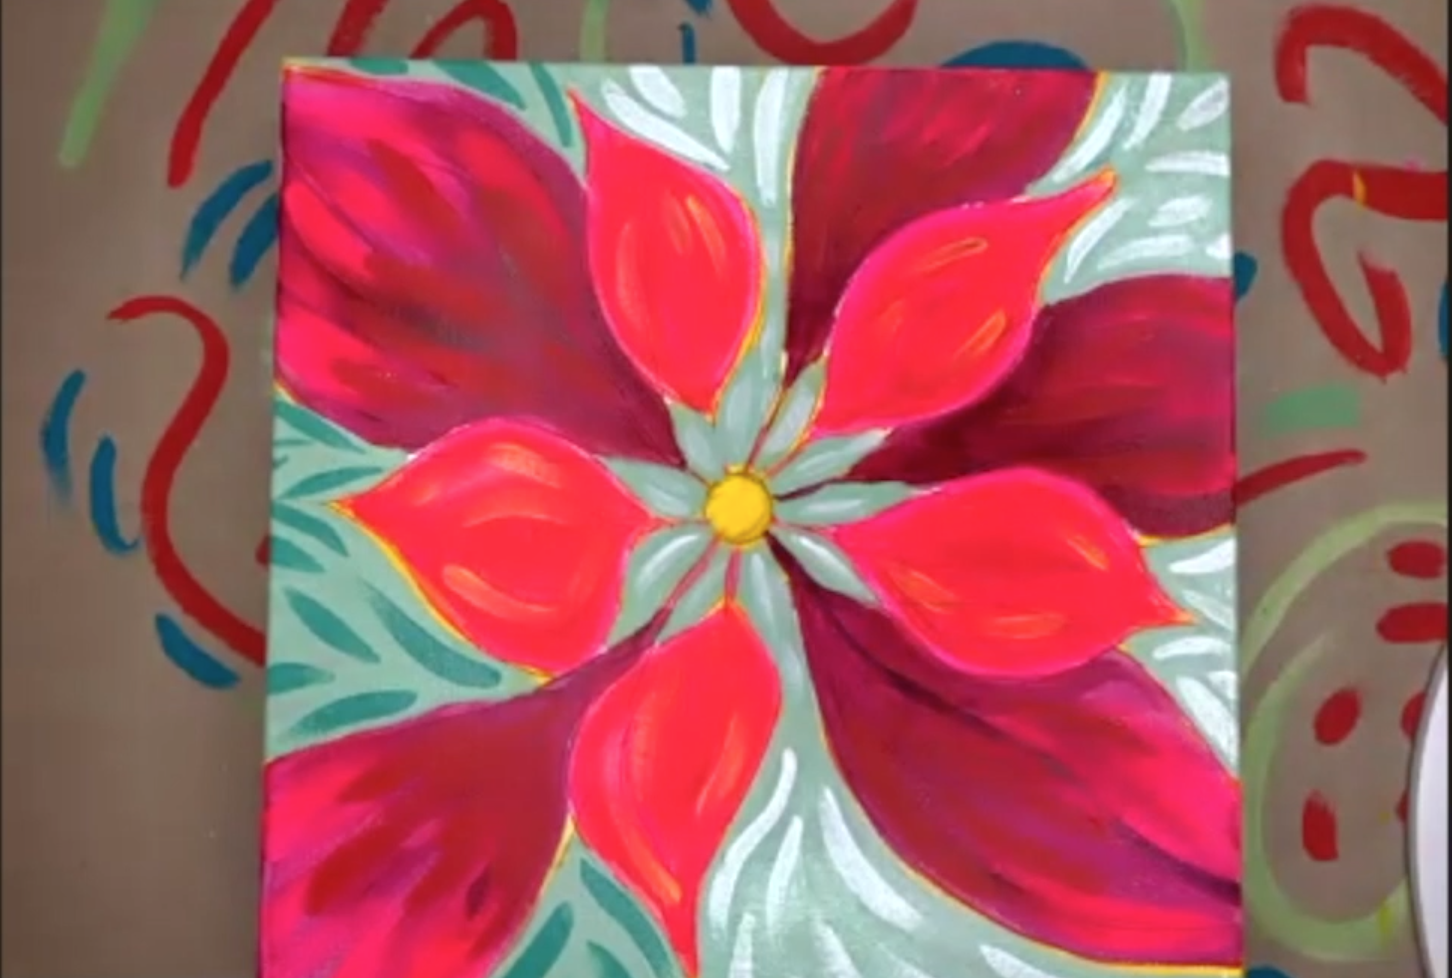
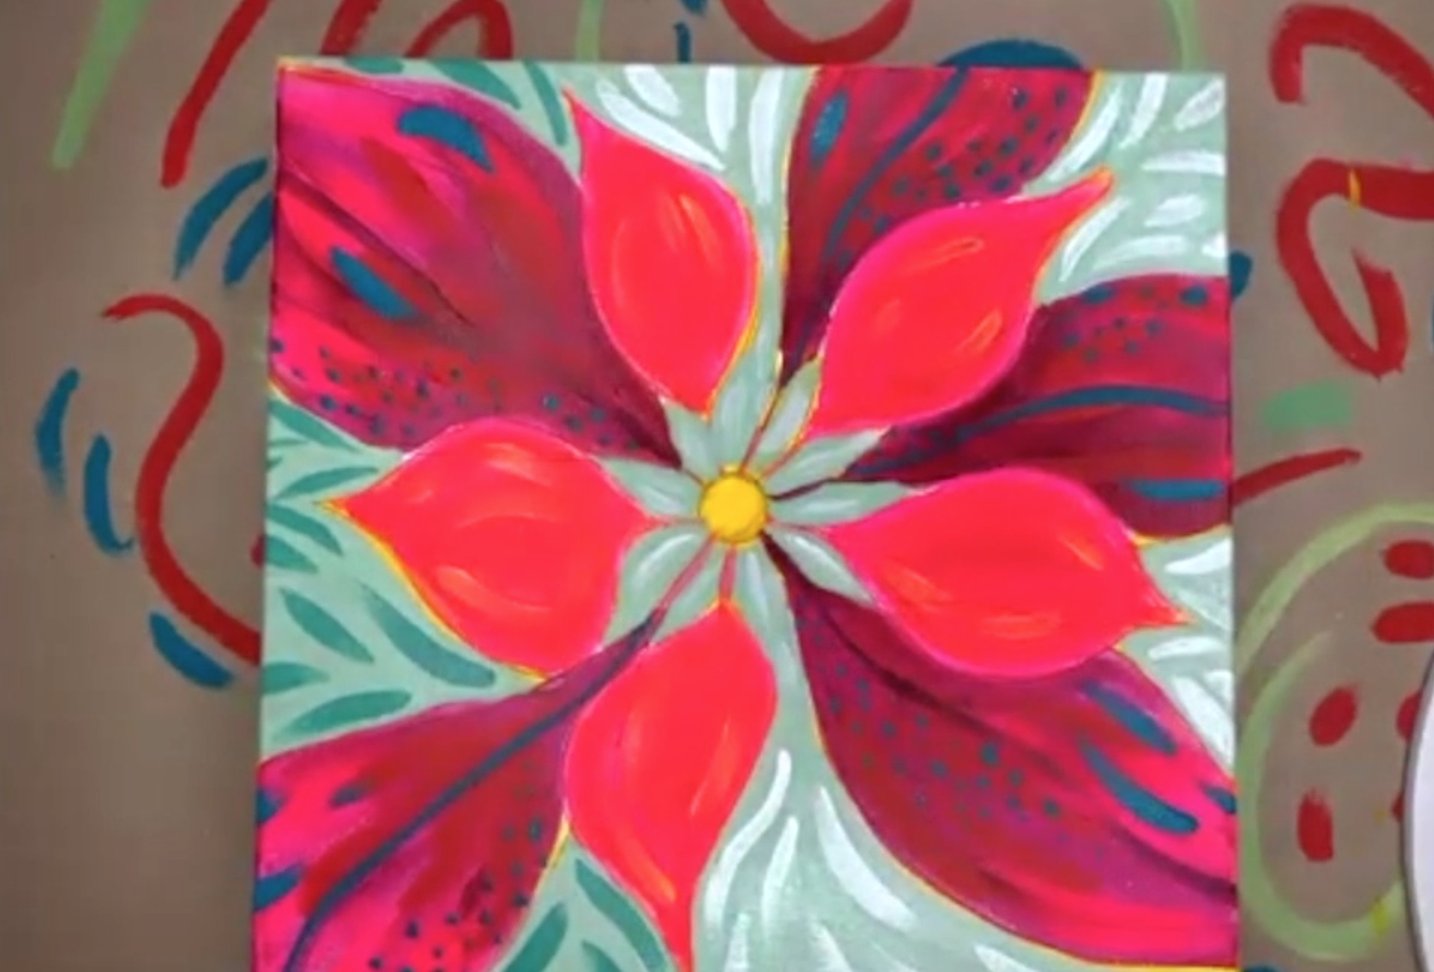
This painting is all about layers and movement. We’ll be painting a lot of layers to give the painting depth and interest. And we’ll add flourishes and brushstrokes to add a sense of movement to the petals. By the end of the tutorial, your painting will look something like this!
Note: This tutorial is for your personal enjoyment. This image is copyrighted and cannot be recreated or sold for profit.
Before you dive in, know that you have complete creative freedom with this piece. I’m giving you a structure, but you’re free to make it your own! In fact, I encourage you to do so! If you want to use different colors than me or different accent paint strokes, go for it! I can’t wait to see what you paint!
Supplies:
Acrylic paint
My favorite paint brand is Liquitex, but you can use anything you have on hand for this tutorial.
Here are the colors I’ll be using
Something to paint on
I’ll be using a canvas in the tutorial, but you can recreate this on an ornament, card, or whatever you want!
Paint brushes
You don’t need to get anything fancy here! I prefer the Simply Simmons brushes like this one. You’ll just want to make sure that you have a large, medium, and small brush.
Acrylic paint pens
These are optional, but they’re great for adding details and flourishes at the end of the piece. My favorite brand to use is Posca!
Step 1: Mix Your Colors
Before you begin, you’ll want to mix your paint. Most of the colors we’ll use in this tutorial are straight out of the tube, but you’ll need to mix a mint green for the background of this piece.
To do that, use six parts Titanium White, one part Cadmium Yellow and one part Turquoise. You want to make sure to add the yellow and turquoise little by little so not to overpower the mint color.
If you are totally new to paint mixing and color theory, I’d encourage you to check out this post first, and then come back so you’ll be more familiar with the process!
Here’s how my mint looked mixed.
Step 2: Sketch
Start by drawing a circle and five lines. These are where the first petals will begin.
Then draw a petal blooming out of each of the lines.
Then create five lines in between the petals you just drew. These will be the start of five smaller petals.
Follow the same petal process from each of those lines, overlapping with the existing petals.
Step 3: Background
Use your Cadmium Yellow to paint the background of the piece. This helps warm up the painting even though we’ll be painting over it. Don’t worry about painting over the lines of your sketch. We’ll be adding lots of layers so it doesn’t need to be perfect!
Step 4: Paint the background petals
Now paint the larger petals using the Quinacridone Magenta. When painting larger areas like this, you can always dip your brush in a little water so the paint spreads more easily.
Step 5: Paint the top layer of petals
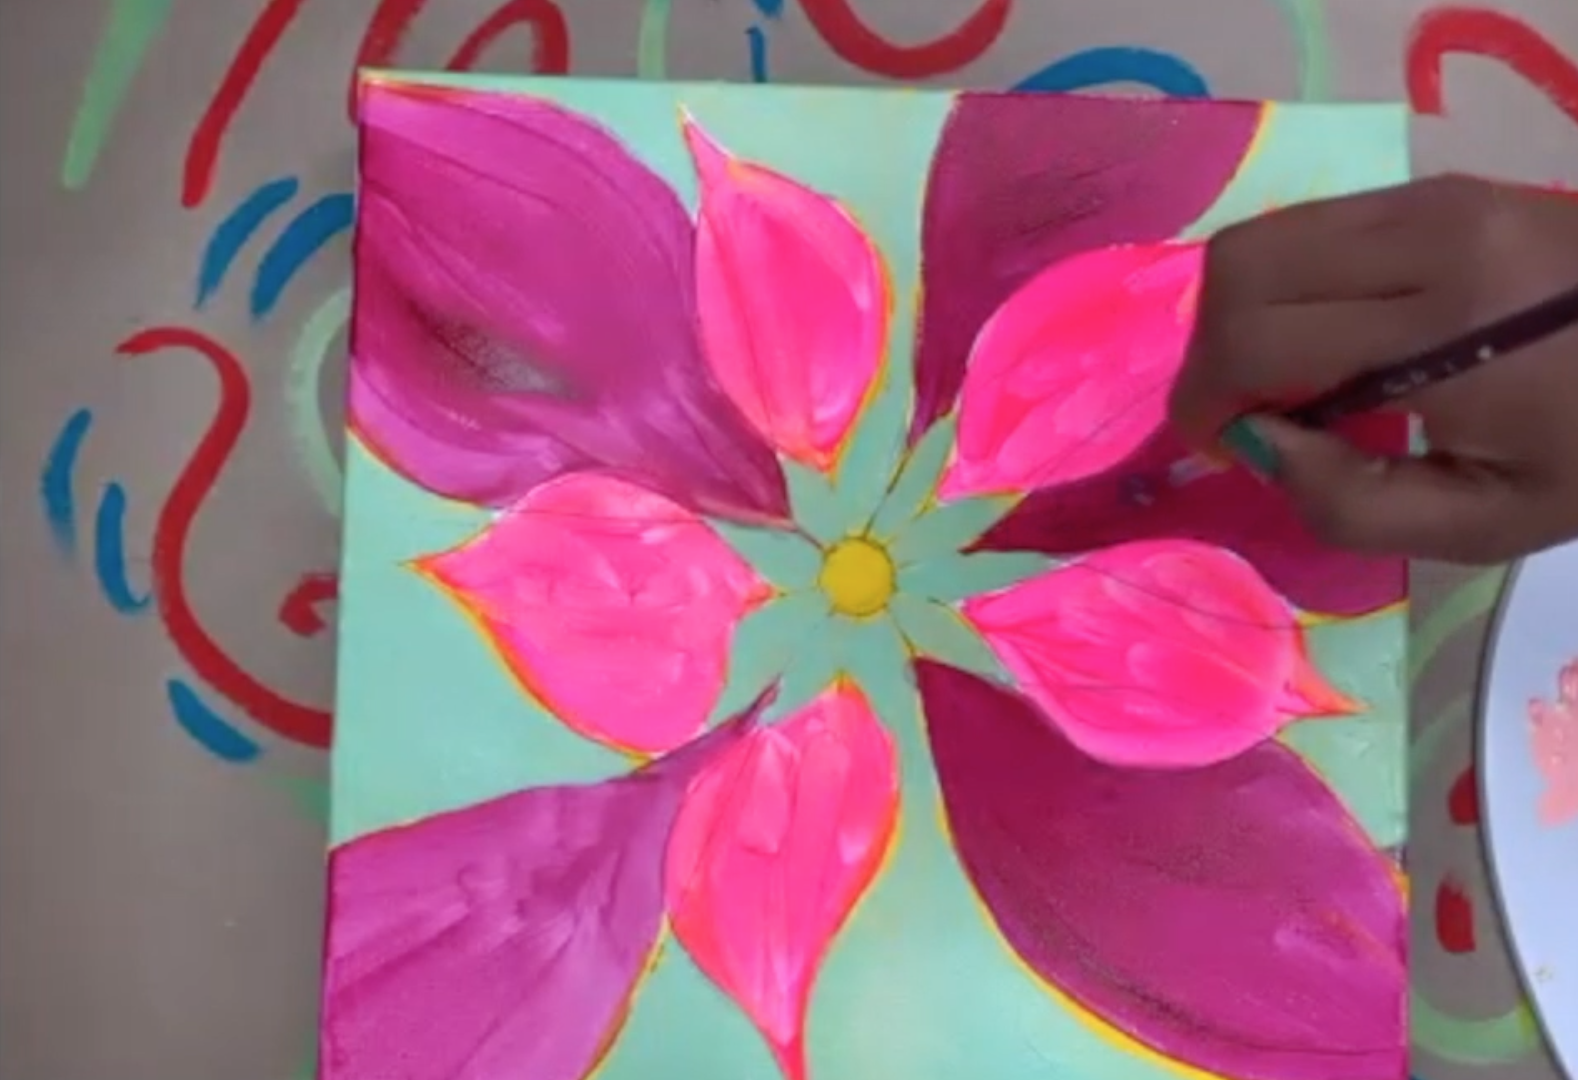
Now take your Fluorescent Pink and fill in the smaller petals.
Step 6: Paint the second layer of the background
Once this layer is completely dry, we’re going to paint the background a mint color.
If you want to speed up the drying process you can use a hairdryer to dry your canvas more quickly! Then grab the mint paint you mixed and cover the yellow areas.
Tip: to get your flower to pop even more, leave small spaces of yellow between the petals and the mint background.
Step 7: Paint the second layer of the large petals
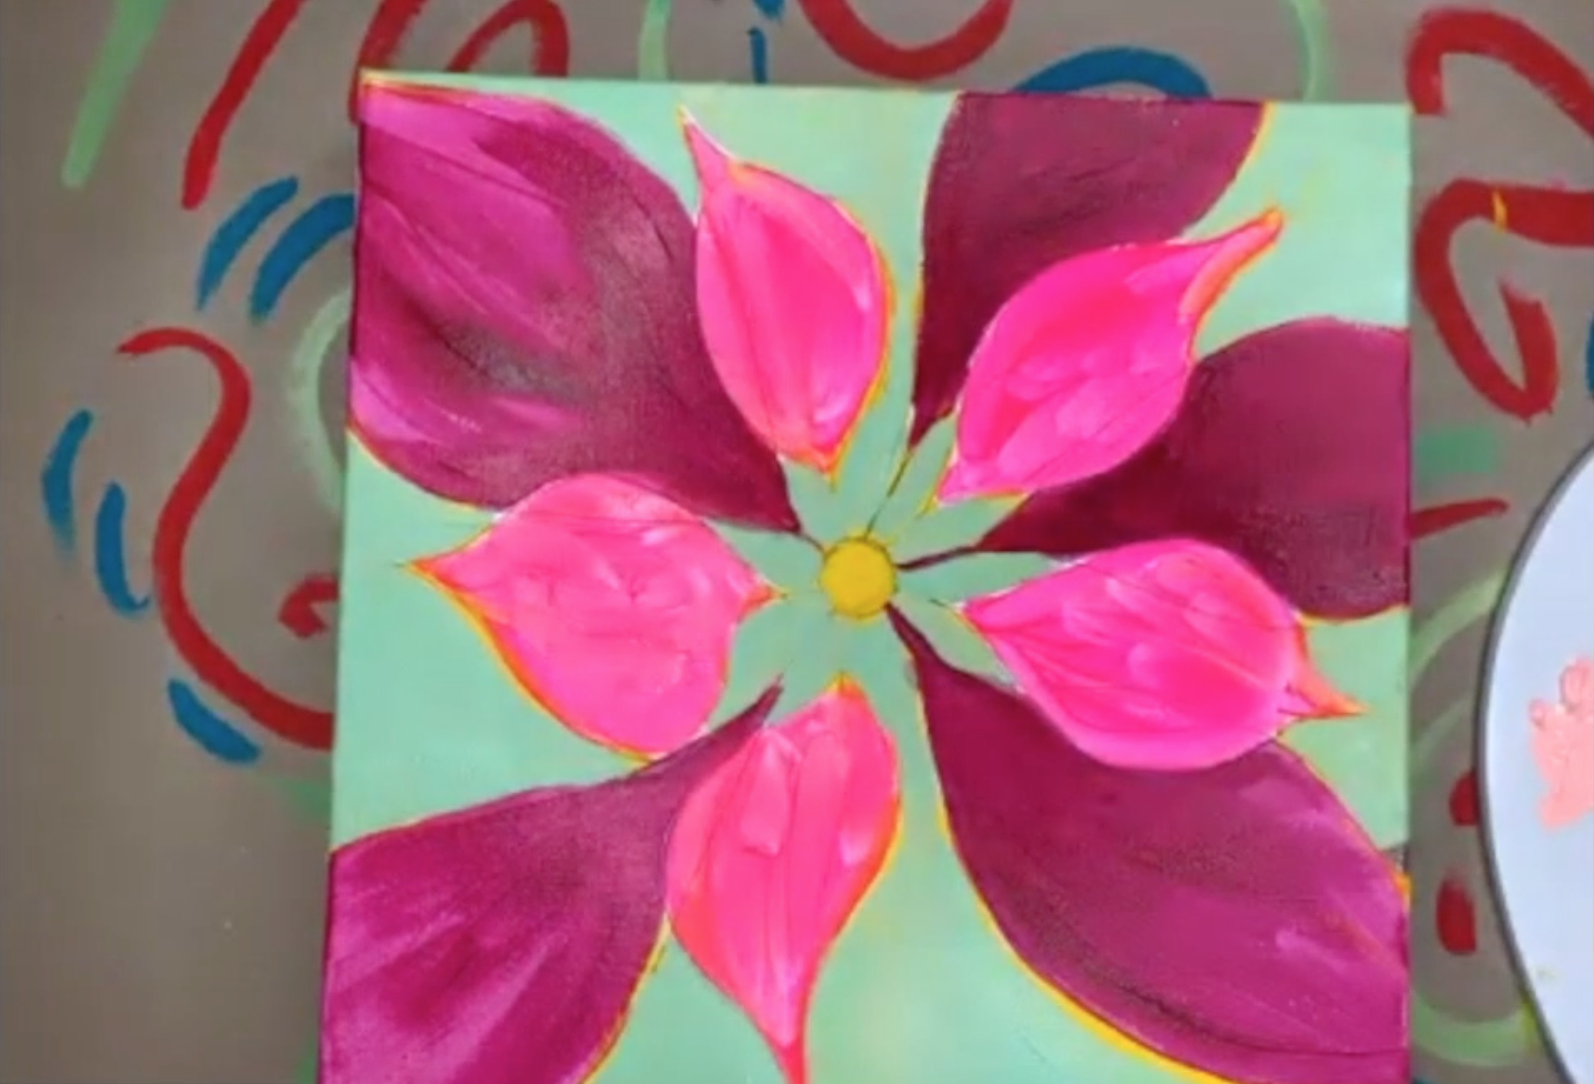
We want the larger petals to appear as if they are behind the smaller ones, and one way to do that is by making them darker. Add a second layer of Magenta to the base of these petals stopping about halfway up. This will add a sense of depth and make the smaller petals pop.
Step 8: Paint layer two of the small petals
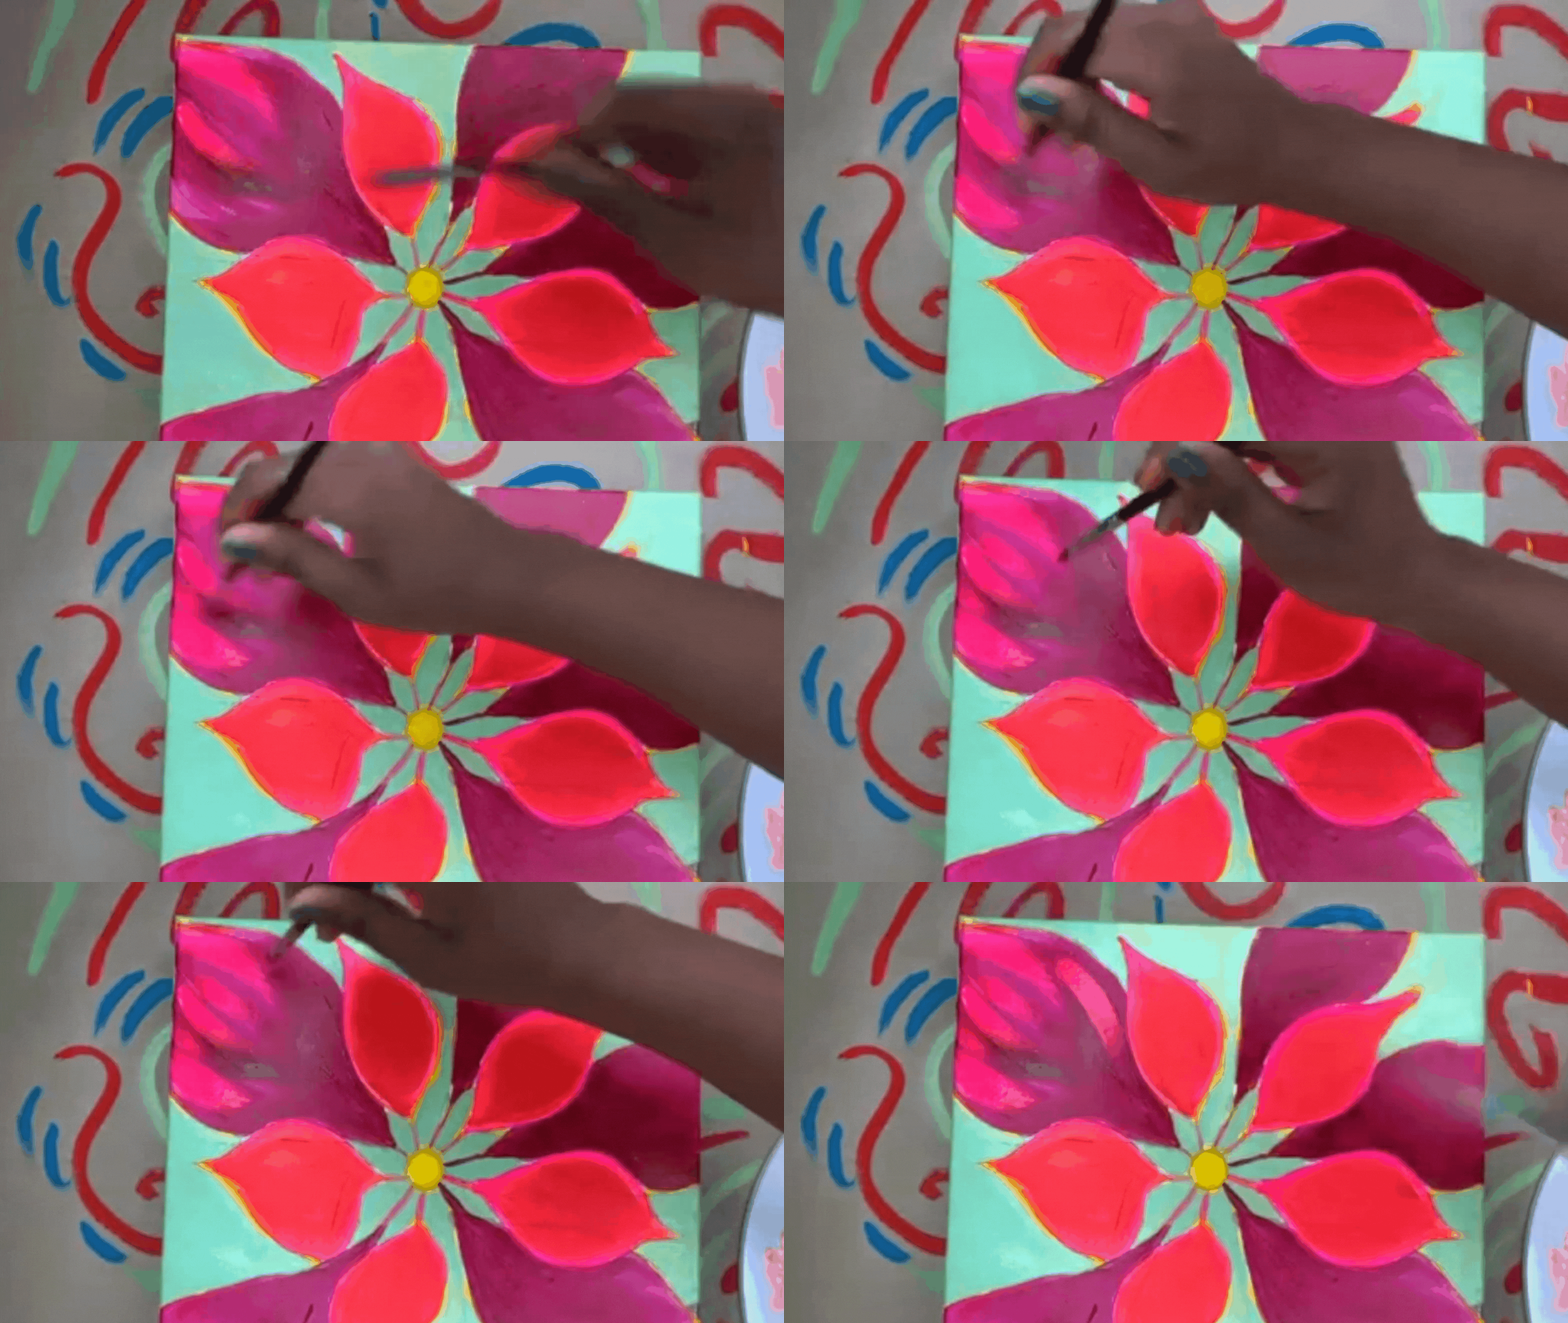
Now take your Pyrrole Red and paint over the fluorescent pink of the small petals. Be sure to leave a little pink on the edges to give it that painterly look!
Step 9: Add bold accent strokes on the large petals
Take some fluorescent pink and start adding bold brushstrokes to the edges of the large petals. Follow the curve of the petal and make big sweeping strokes. This gives a textured look to the poinsettia. The goal is for the brushstrokes to pop on top of what you’ve already painted, so you don’t need to worry about blending them.
Then repeat the process towards the center of the large petals, this time adding red accent brushstrokes.
Step 10: Accent strokes on the smaller petals
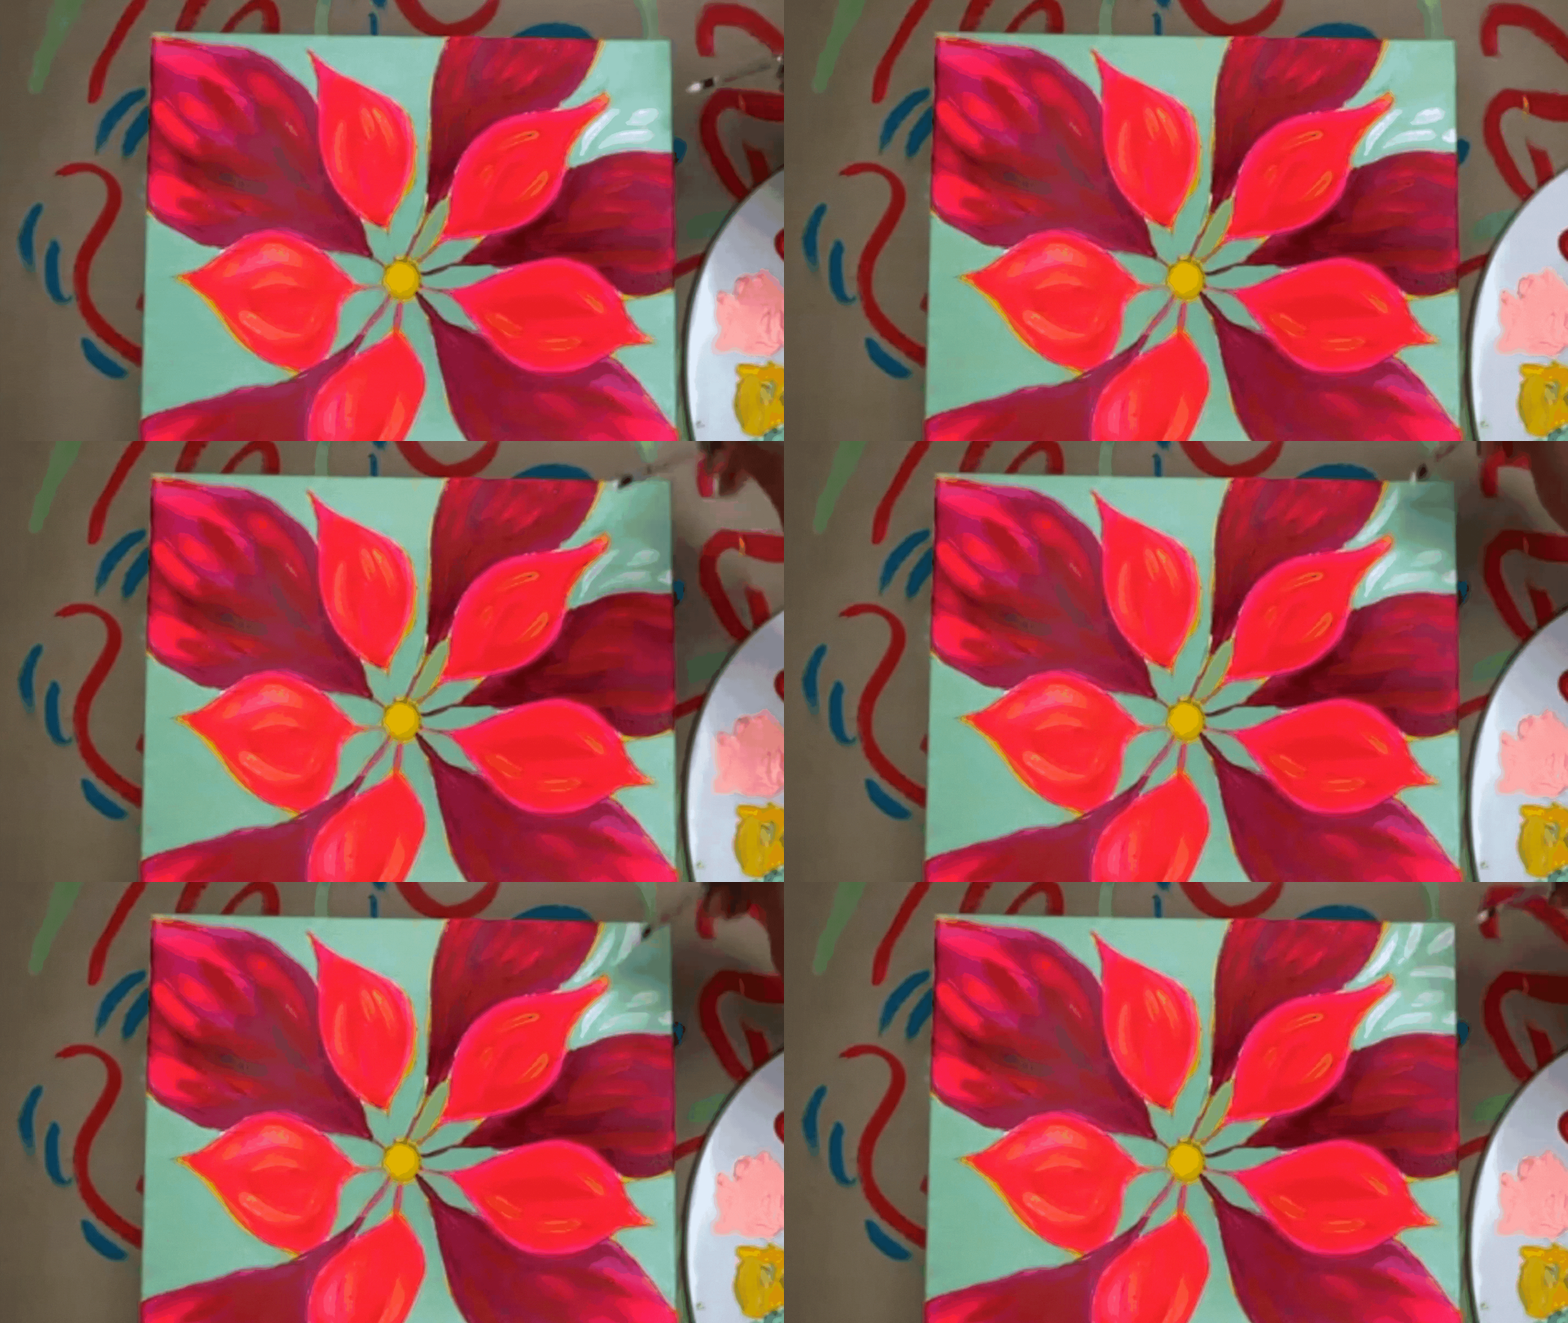
Repeat the same process on the smaller petals with yellow paint.
Step 11: Background details!
With white paint, start to make small brushstrokes on the background layer following the contour of the flower like this.
Continue to fill the background with these strokes until it’s all covered. I decided to add a fun pop of teal on mine, but you can keep yours white if you’d like! It’s your painting and you make the rules!
Step 12: Add veins to the large petals
Now we’re getting into the details! This next step is to add a vein to the center of all of the large petals. In my painting, I’m using a deep eggplant color and a dark teal for the veins. Make your brushstroke a little curved to give the vein an organic feel.
Step 13: Details on the large petals
Now it’s time to add some accent details to the large petals. You can use any color you like, but I kept going with the turquoise. I love how unexpected it is against the red!! Add some small dots and large strokes to add texture to these petals.
Step 14: Detail strokes on the small petals
Now add some similar details on the smaller petals. Make sure to follow the contour of the petal to give it some shape. I used a variety of colors here including light pink, fluorescent pink, and red. Adding red back into the center of these petals really helps give them some definition and make them look recognizable as a poinsettia! I also added a few white accent dots to tie that texture in with the dotted texture of the large petals.
Step 15: Final flourishes with paint pens
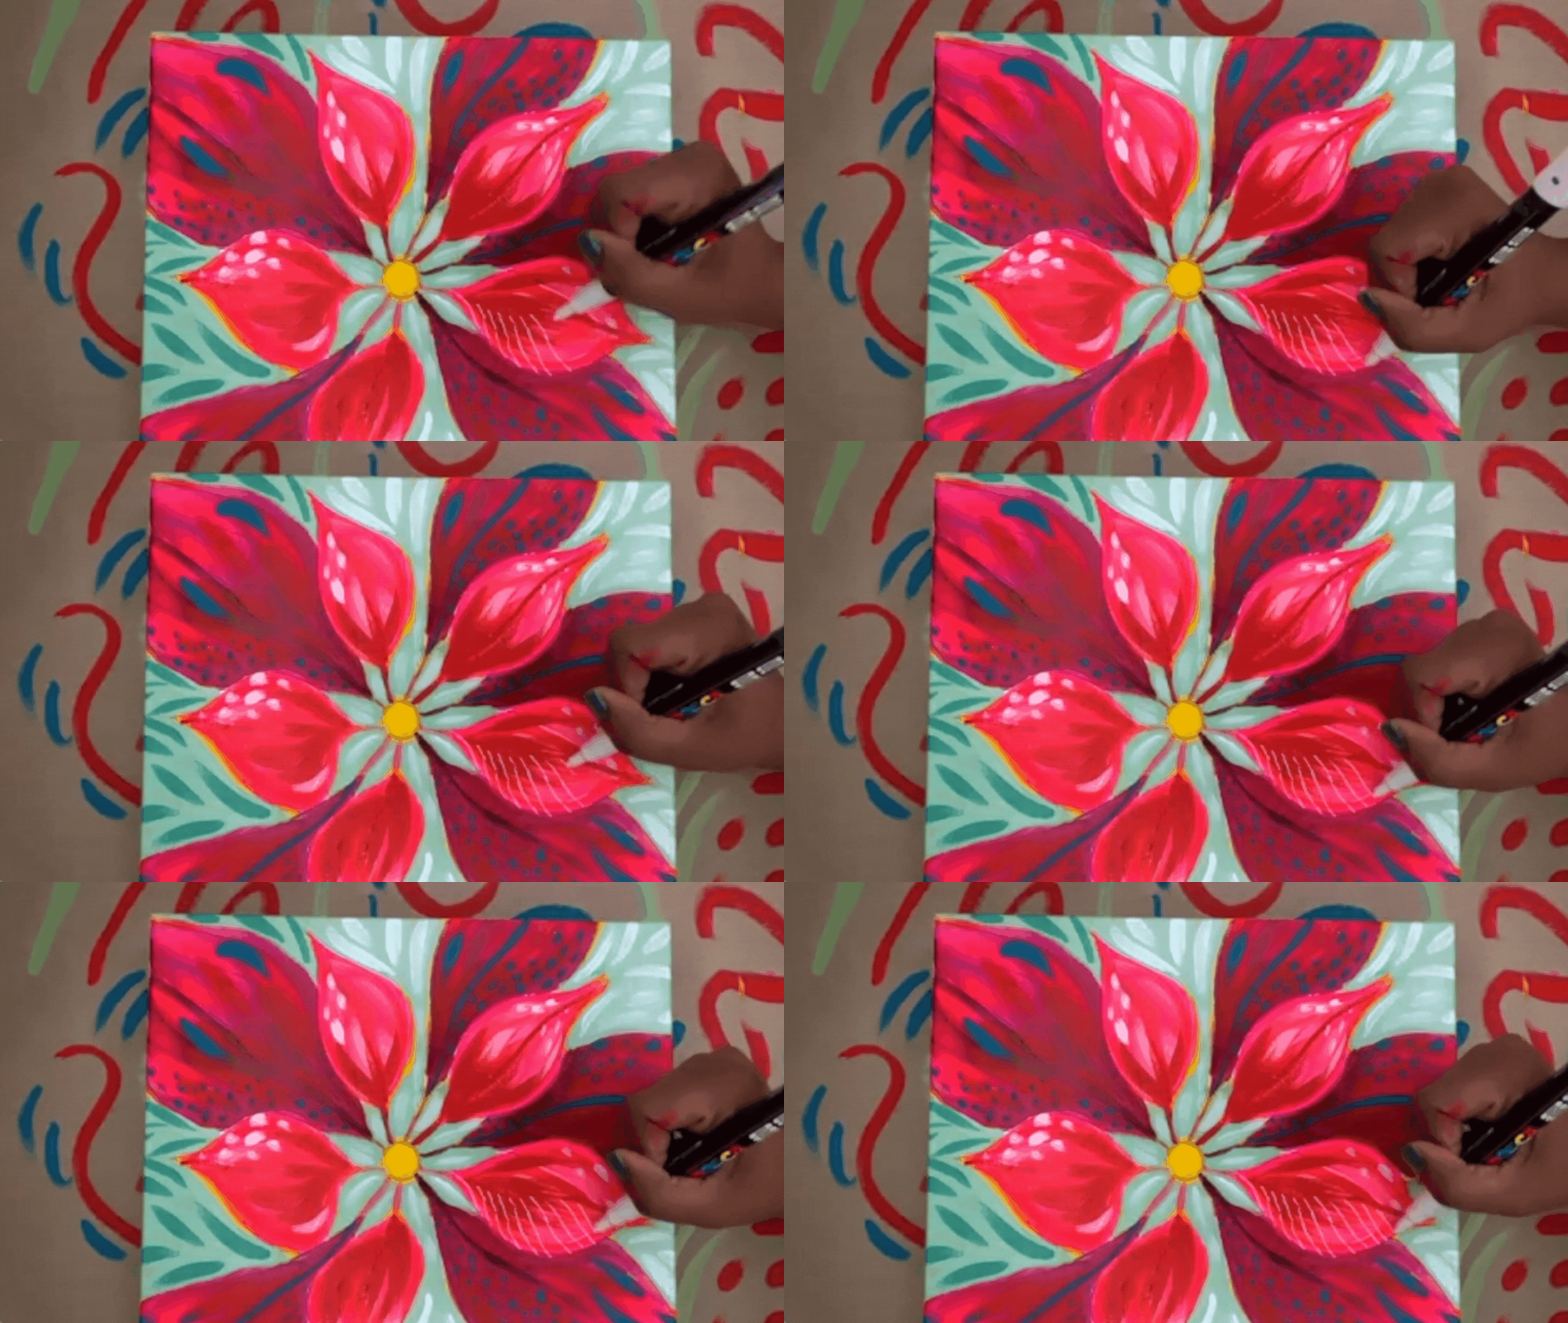
Now it’s time for the fun part! The final flourishes! The painting looks beautiful as it is now, but adding a few final details is what will really take it to the next level.
Small petals
I used a white posca paint pen to add detail lines to the petals. Follow the curve of the petal to create lines stemming from the center vein.
Center of the flower
Add some circular details and dots to bring some life to the center of the flower.
Large petals
I added some green flourishes to the large petals to tie them in with the mint color of the background.
Gold detail
Last but not least, the gold details! I use a gold paint pen in almost all of my work because I love the pop of shine that it adds to a piece. In this example, I added flourishes throughout the piece to really bring it to life and make it as festive as possible!
Et voilà! The poinsettia is complete!
Enjoy the process of adding the final details. Make bold choices and have fun! These little flourishes are what will make the piece uniquely yours! Here’s how my final piece ended up.
I would love to see what you paint! Tag me @ettavee on Instagram so I can see your beautiful poinsettia! Happy Holidays!
xo, Jessi
Pin this post for later! 📌
Hover or tap on this image and click the “Save” button on the top left!


