How to Seal & Varnish Gold Leaf
In this tutorial, I’ll share how to seal gold leaf so that it doesn’t tarnish. I am a big fan of using gold leaf in my acrylic paintings, and today you’ll learn how to effortlessly seal your gold leaf and varnish your final paintings.
This post may contain affiliate links for some of my favorite products. If you purchase anything from a link in this post I may make a small commission at no extra cost to you! Thank you!
First, if you aren’t sure how to apply your gold leaf, please check out this blog post where I walk through that process!
Why Sealing Gold Leaf is Important
Gold leaf, whether its imitation gold leaf or pure gold leaf, is made of real metal that can tarnish over time. When you don’t seal gold leaf on a painting, you’re opening yourself up to the possibility of tarnished artwork, and we want to avoid that!
Sealing your gold leaf will protect it from dust, UV light, and most importantly – the open air that can tarnish it quickly.
My Recommended Gold Leaf Sealant
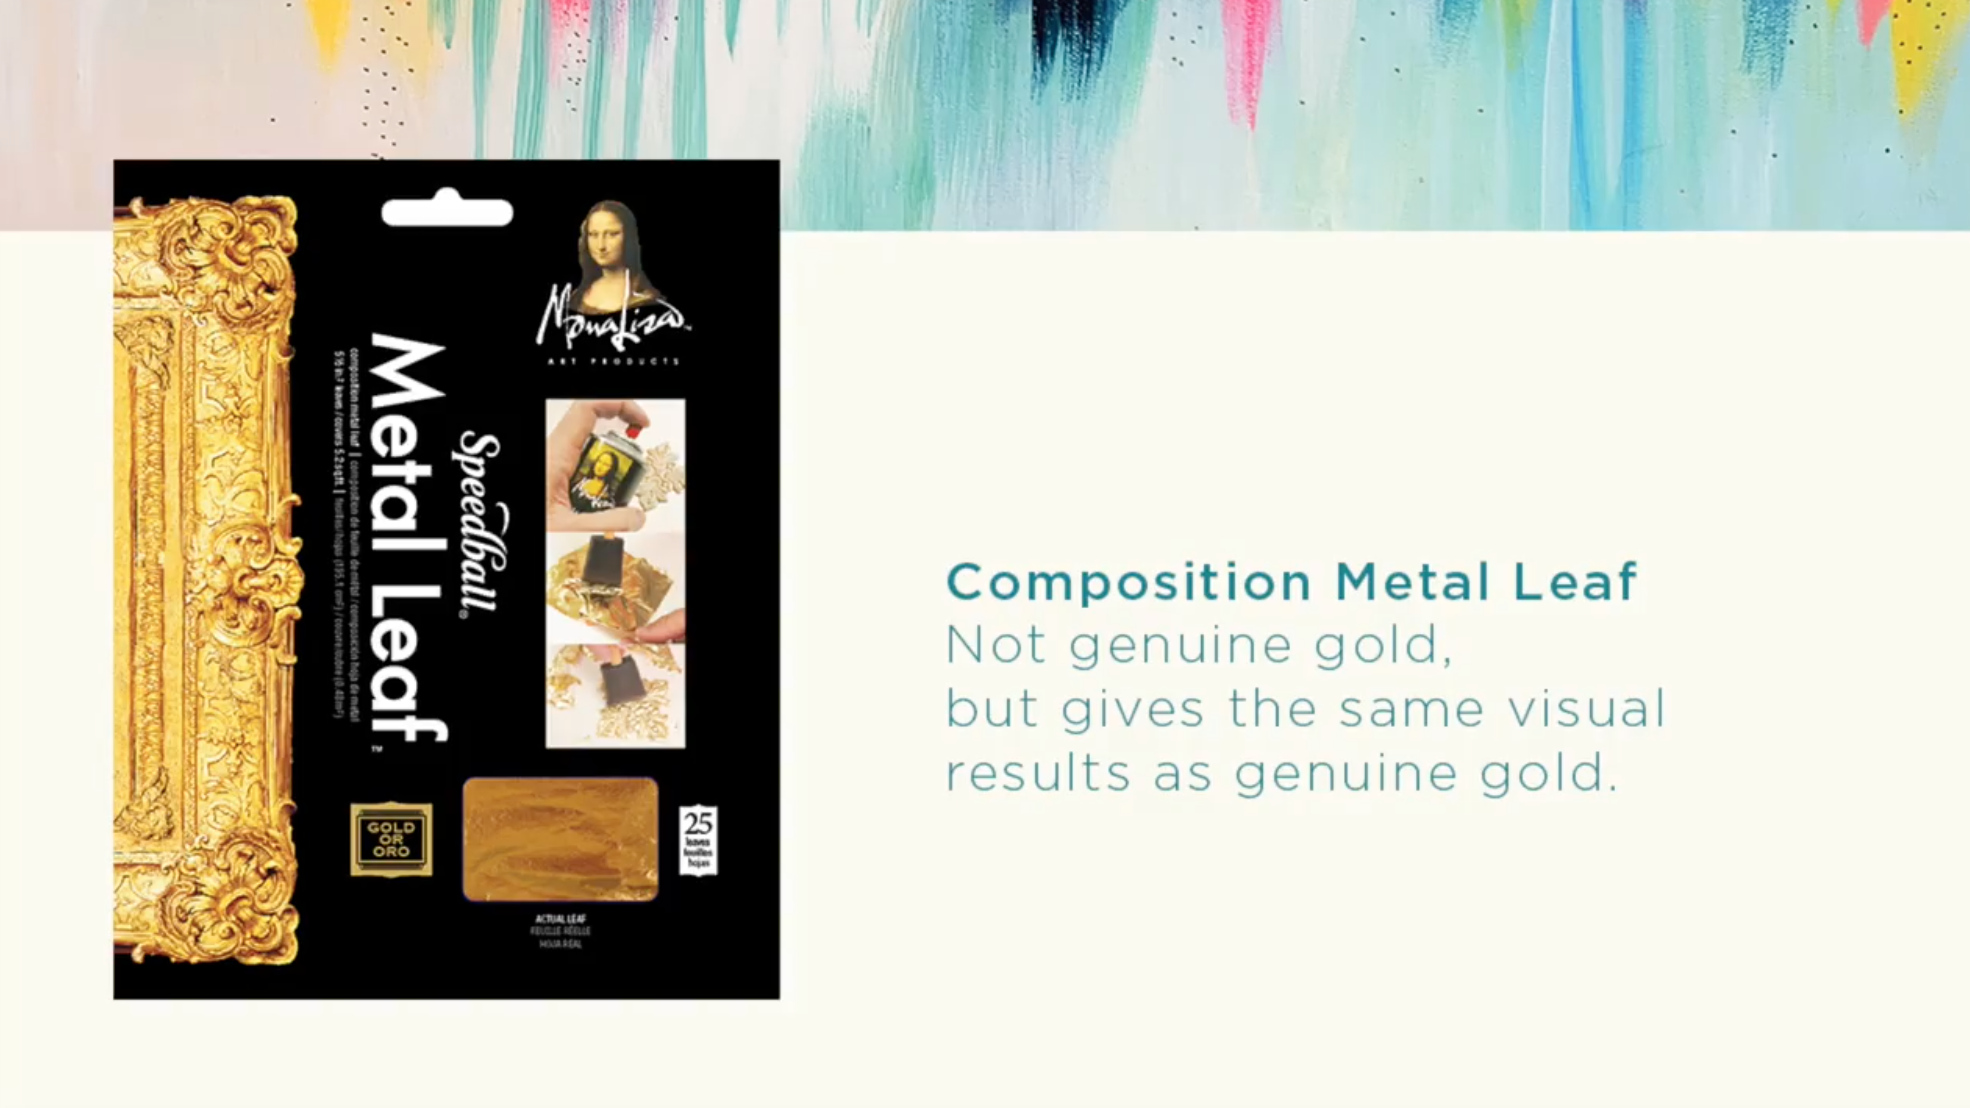
My favorite brand of gold leaf is the Mona Lisa brand. They also make gold leaf adhesive (what you put on your canvas to make the gold leaf stick) and gold leaf sealant (what you put on the gold leaf afterward to prevent it from tarnishing). You can shop all three of those products here.
It is important to get the specific sealant for gold leaf rather than other varnishes. It can be hard to know how certain products will work with gold leaf, so I’d recommend sticking with the same brand of sealant as the gold leaf you’re using. Gold leaf sealant is made specifically for use on gold leaf so it’s the one product that will seal it without tarnishing it or making it look dull.
How to Seal Gold Leaf
Once your gold leaf and the surrounding painting is completely dry, you can come in with a thin layer of sealant. Dip your brush into the sealant and scrape off any dripping excess.
Then gently paint a smooth layer on top of the areas with gold leaf. It will appear cloudy at first, but I promise, it dries clear! Make sure to smooth out your brushstrokes so that you have a flat finish that will let the gold shine through. It’s ok if your sealant gets on the paint surrounding the gold areas.
You can add a second layer if you choose, but I’ve found that one is typically enough to get the job done. If you add a second layer, wait til the first one is completely dry before adding it.
Now, you’ll want to add varnish to the parts of the painting with no gold leaf. Learn how to varnish your acrylic paintings in this blog post. Do your best to avoid getting the varnish on top of the sealed gold leaf, but if it overlaps slightly, it will be ok!
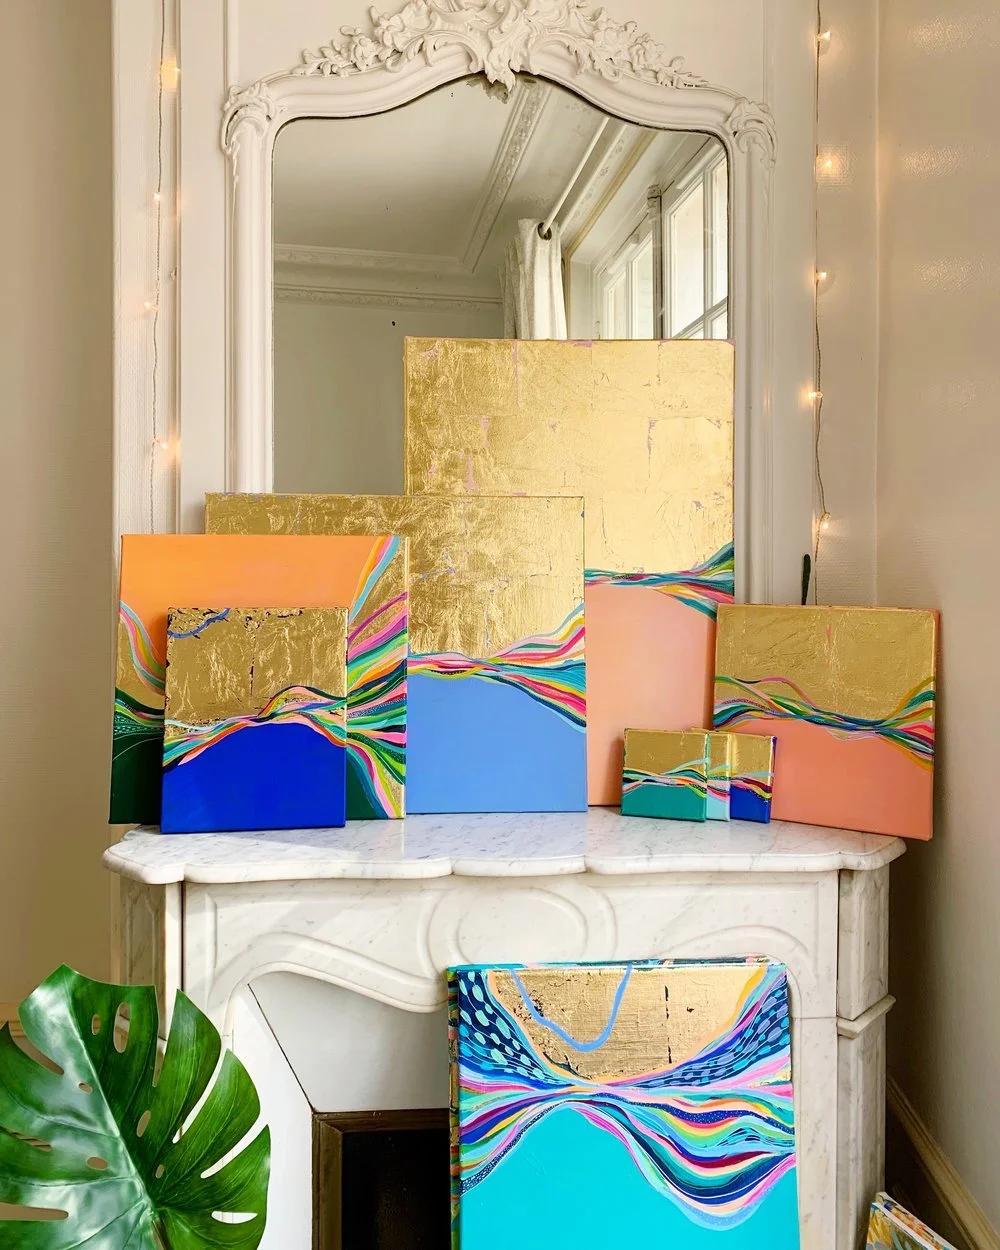
Et voilà! Now you’re left with a stunning gold leaf piece that will stand the test of time.
Want to learn more about how to incorporate gold leaf into your artwork? Join me in my class, Golden, where I teach my process for creating stunning abstract paintings with metallic touches.
Gold leaf can be a little tricky to work with when you’re just starting out, so this class walks through the process step-by-step. In my Golden class, you’ll learn to work with gold leaf through three fun hands-on projects.
Pin this post for later! 📌
Hover or tap on this image and click the “Save” button on the top left!


