Prepping your Piece:
Some participants like to prep their piece prior to class! No need to match my design perfectly, feel free to add your own flair! For this class, we’ll be creating design guides to help us layout our composition and to use it as a guide while painting.
I will be doing all of these steps during class, but wanted to provide it for anyone who wants a headstart!
A hair dryer is recommended for this class ;)

Step 1: Clean Glass
We’re going to create a simple guide to help us paint our tree.
Start by gathering the following:
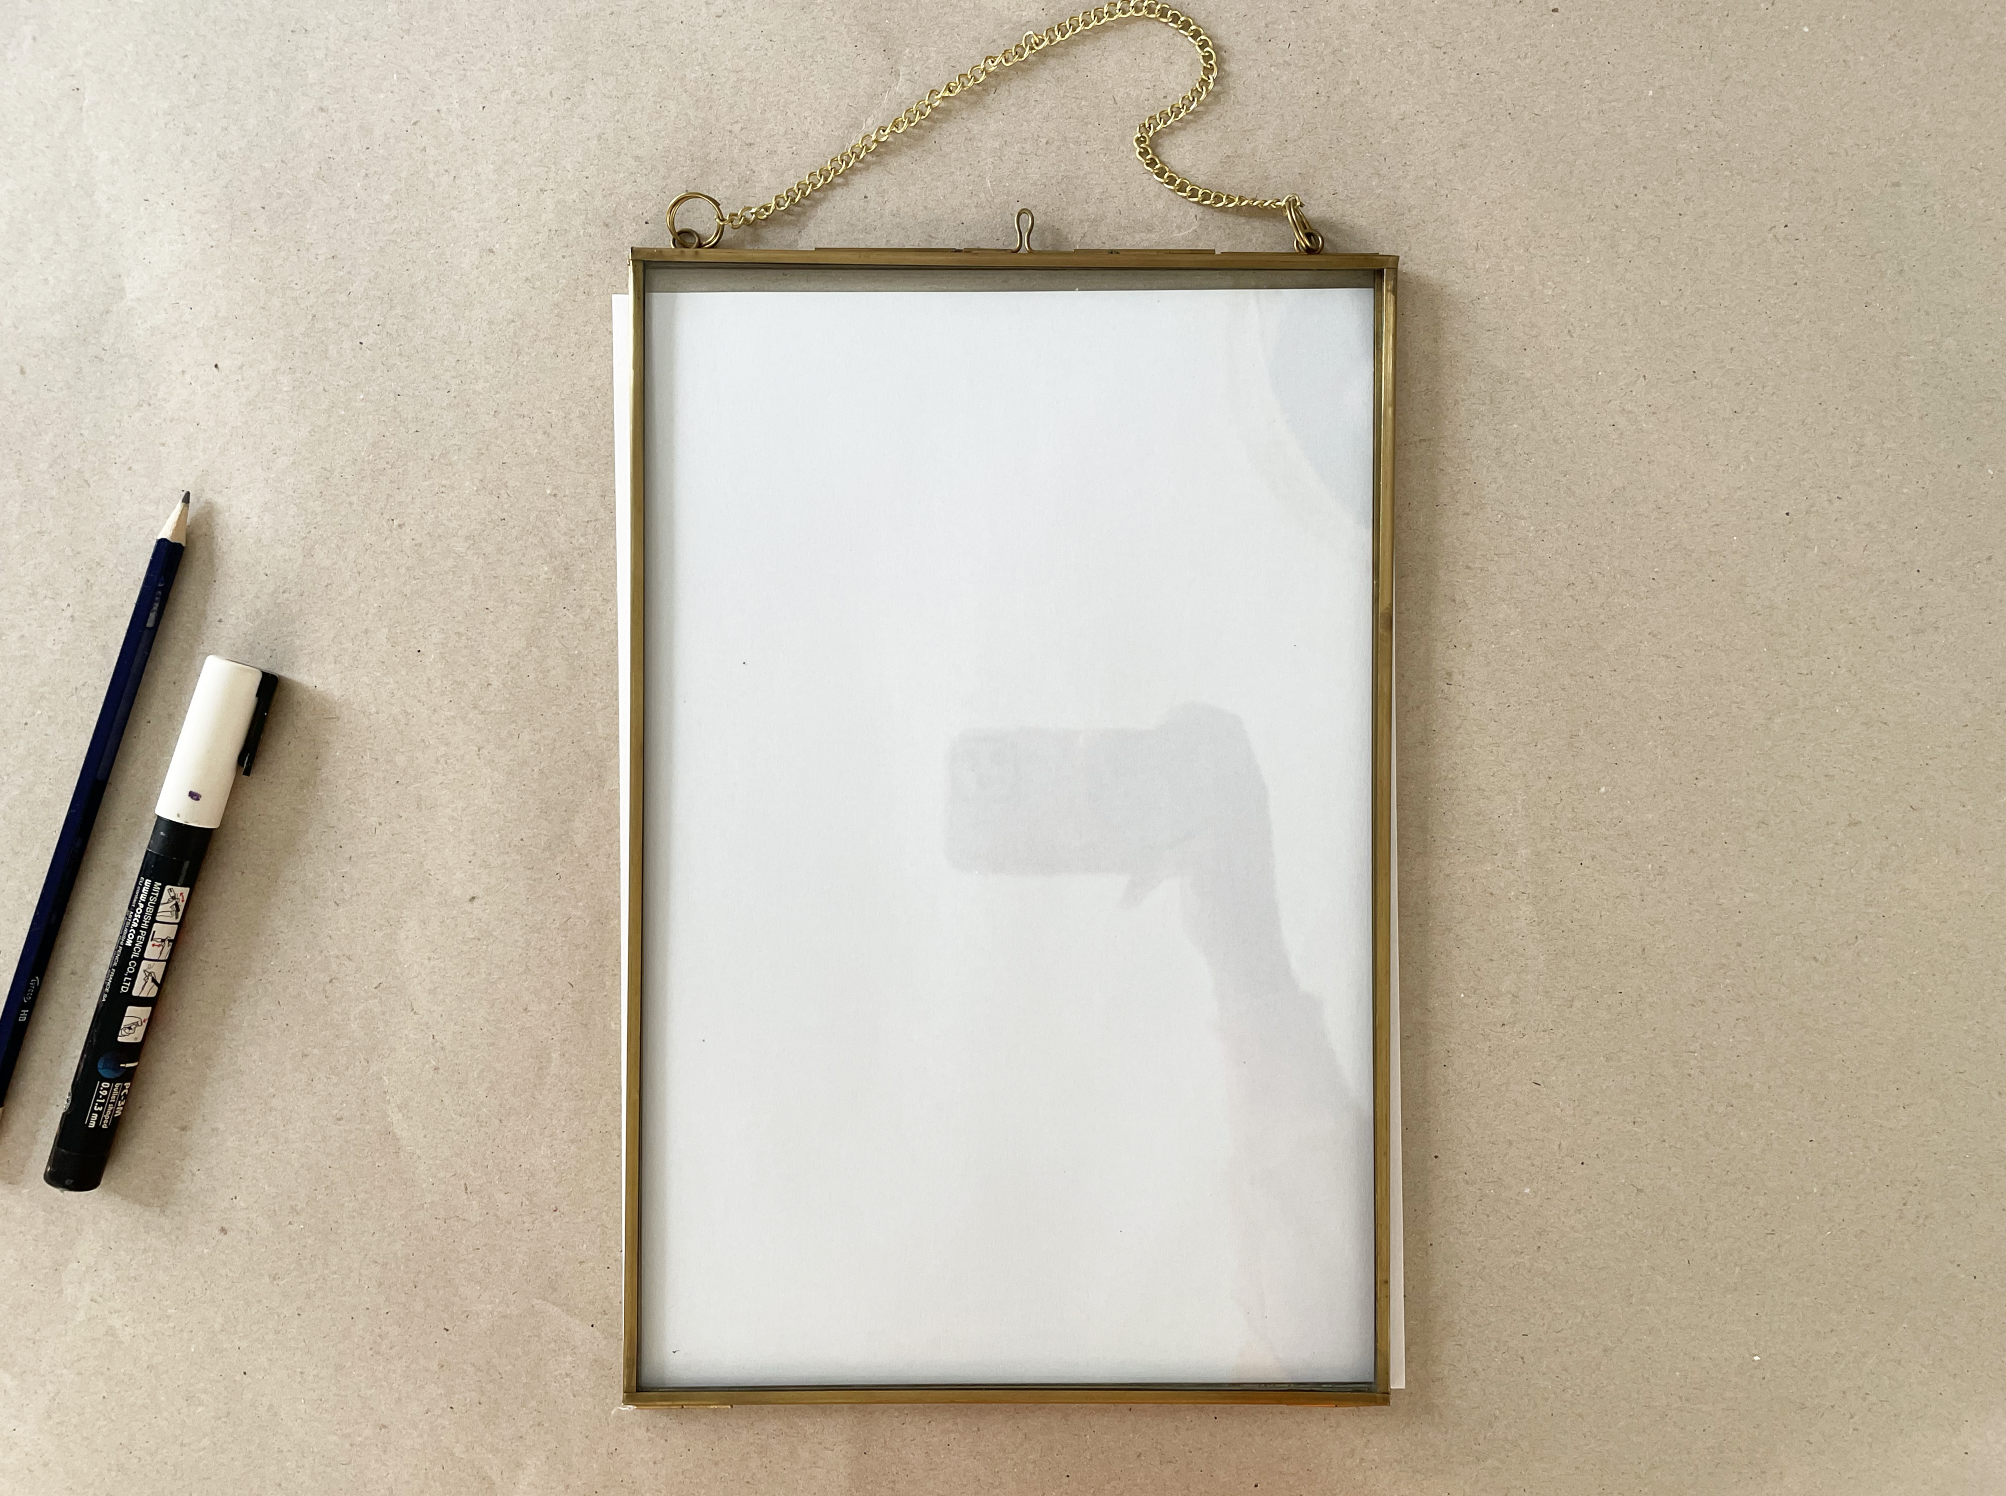
Your glass painting surface
Glass cleaner
Mircofiber cloth or paper towel
Pen or pencil
Posca pen
A piece of plain computer paper
Using the glass cleaner and microfiber cloth, clean your glass on all sides
Step 2:
Check how your piece of paper fits with your frame. In my case, my paper and frame are just about the same size. I’m just wanting to make sure that when I sketch my tree on my paper, that it will fit within my frame.
If you find that your paper is larger than your frame, then I suggest tracing the outline of your frame so you have an idea of where to put your art (I will show an example of this in class).

Step 3:
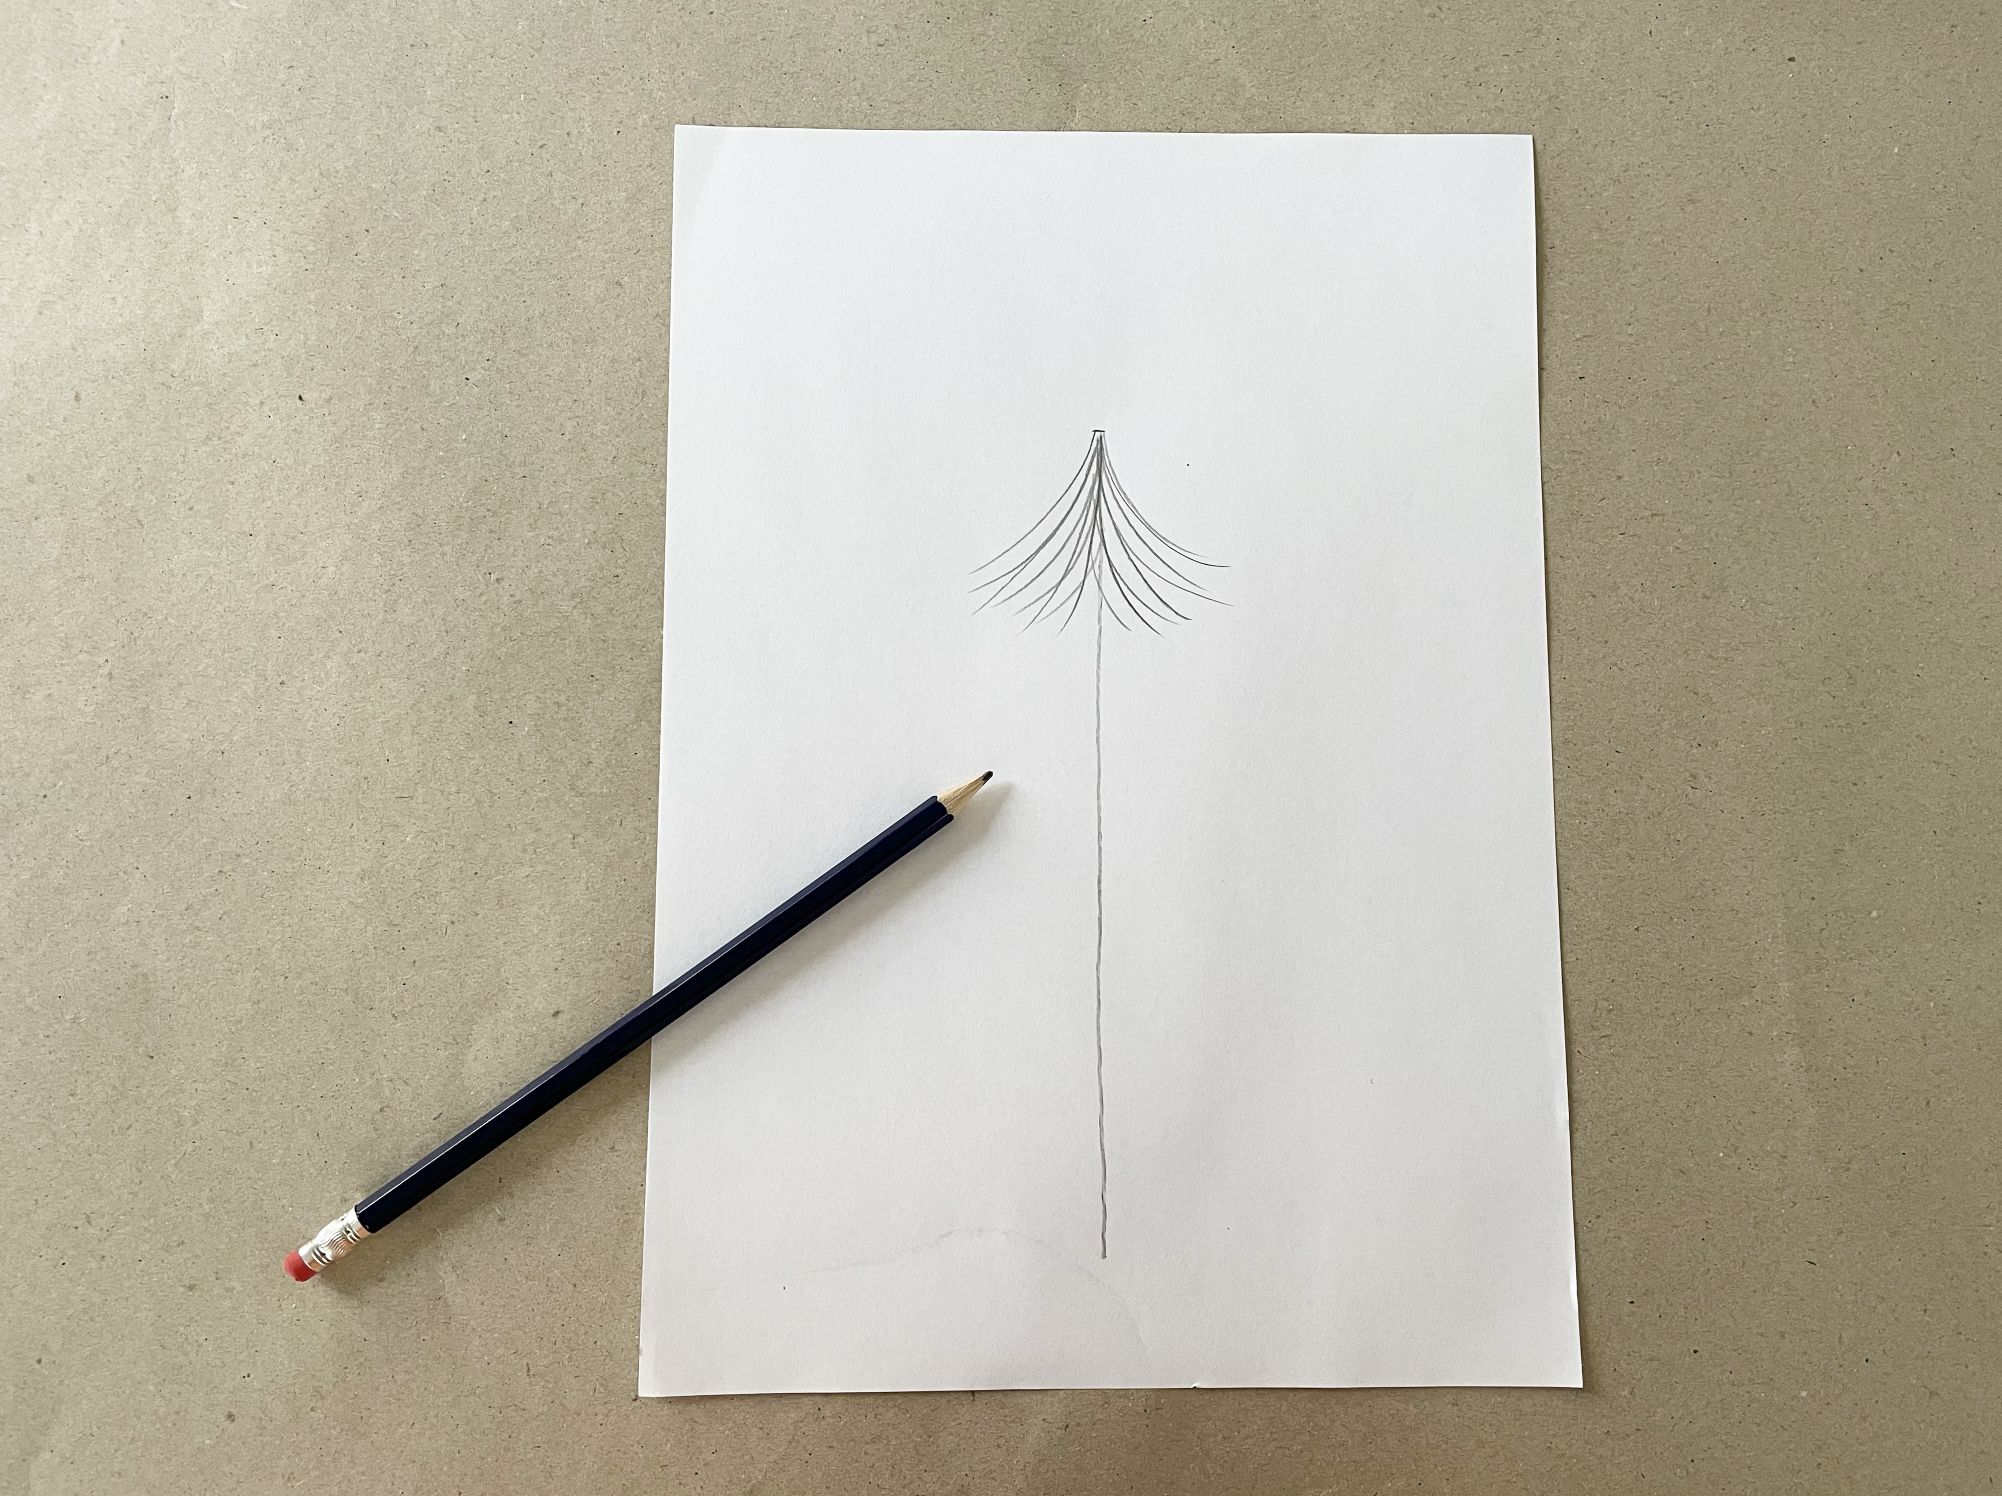
We need to check to see where to place our tree within our frame. As you can see here I’m leaving the top fourth of my sketch empty. This is where the star will go.
Next, I’m adding a line in the center of the page. This will serve as the center of my tree. I then place the frame on top of the paper in order to make sure I like how everything is lining up.
Step 4:
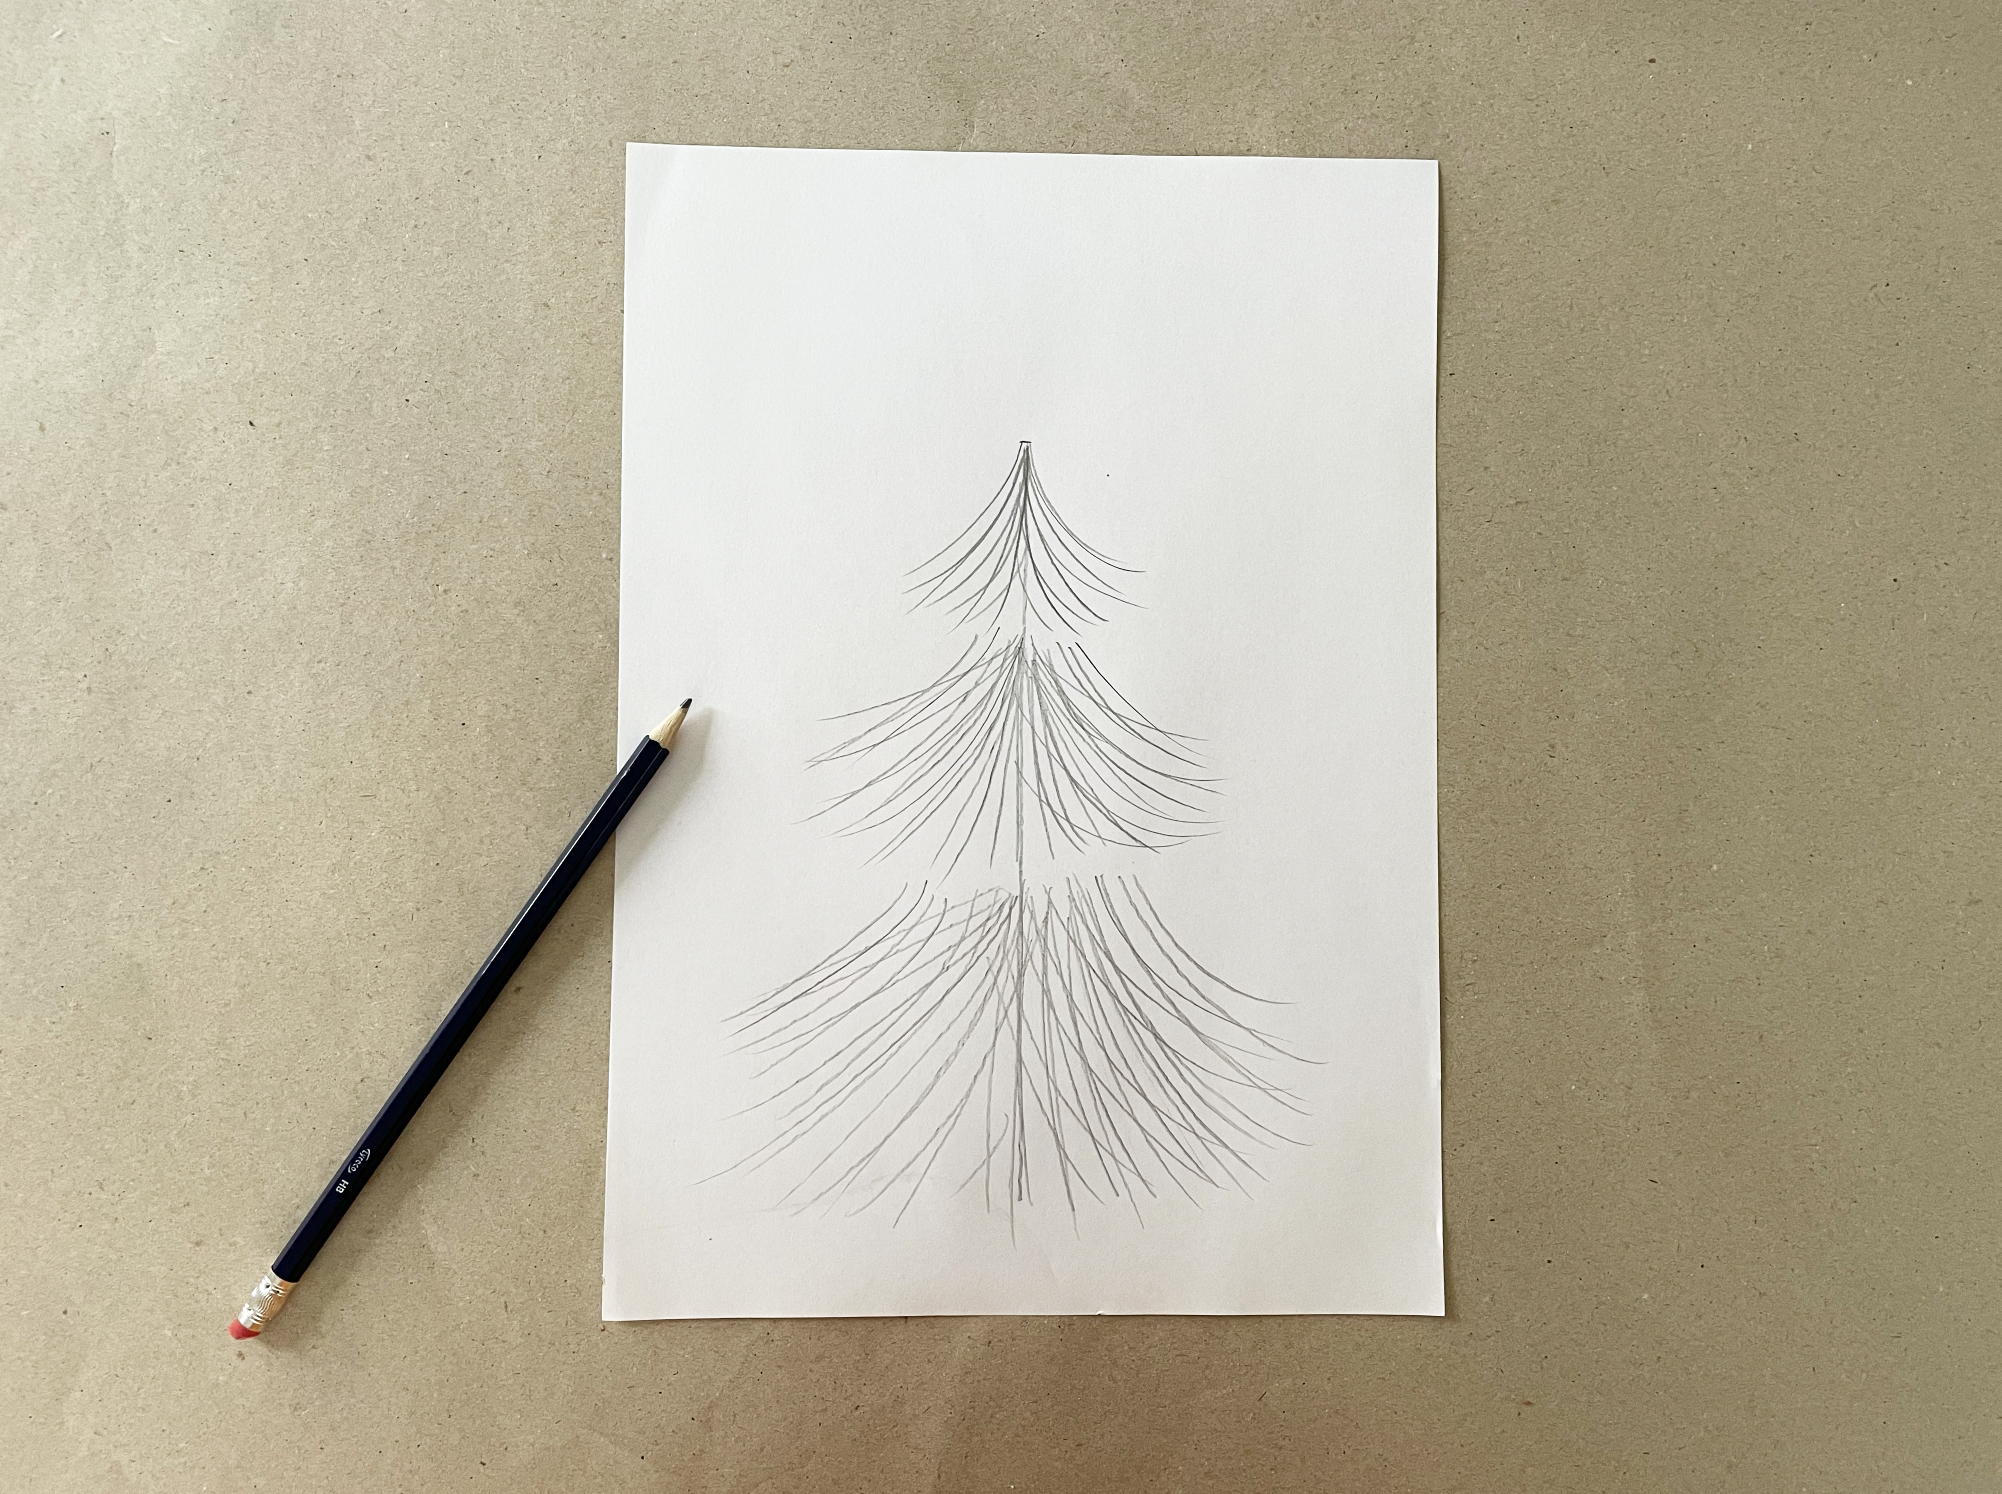
Now that i’m happy with the placement of my future tree, i’m going to quickly sketch three distinct tree layers. Top, middle and bottom. The goal is to be able to see the three distinct layers clearly, so be sure to leave a bit of separation in-between.
Each layer should fan out larger as we go down. So the top section should be the smallest, the middle section should be slightly larger and the bottom section should fan out the largest. Finish by sketching a radiating star at the top!
Place the frame on top of the sketch so that you can see how it looks contained in the space and to ensure you like how everything is lining up.


Step 5: Sketch tree onto glass
Since our sketch is under the glass, we’re going to use it as a guide to sketch two trees directly onto the glass. We’ll be sketching one on the top layer of the glass (side 1, that is facing up when close ) as well as the bottom layer of the glass (side 4, that is facing down when closed).
Using a Posca pen (or any water based acrylic paint pen), quickly sketch your three tree layers on side 1.
I’m making sure my lines are more simplified that my initial sketch.


Once completed, let it dry and flip your glass over so that side 1 (front) is facing down and side 4 is facing up. We’ll then trace the simple lines as we did on the front.
The goal is to have one tree on the top and one on the bottom. Here’s how it will look once complete.

And voila! We’re ready to paint!